In my first blog post I took you through the journey of OOTBI to my datacenter and then through the Cluster Configuration and setup. You can see that blog post here - Object First (OOTBI) - Installation & Configuration
I am now going to go through some of the Web UI features, including first launch, and show how you configure things such as -
- Users
- Buckets
- Access Keys
- Email Alerts
- Software Updates
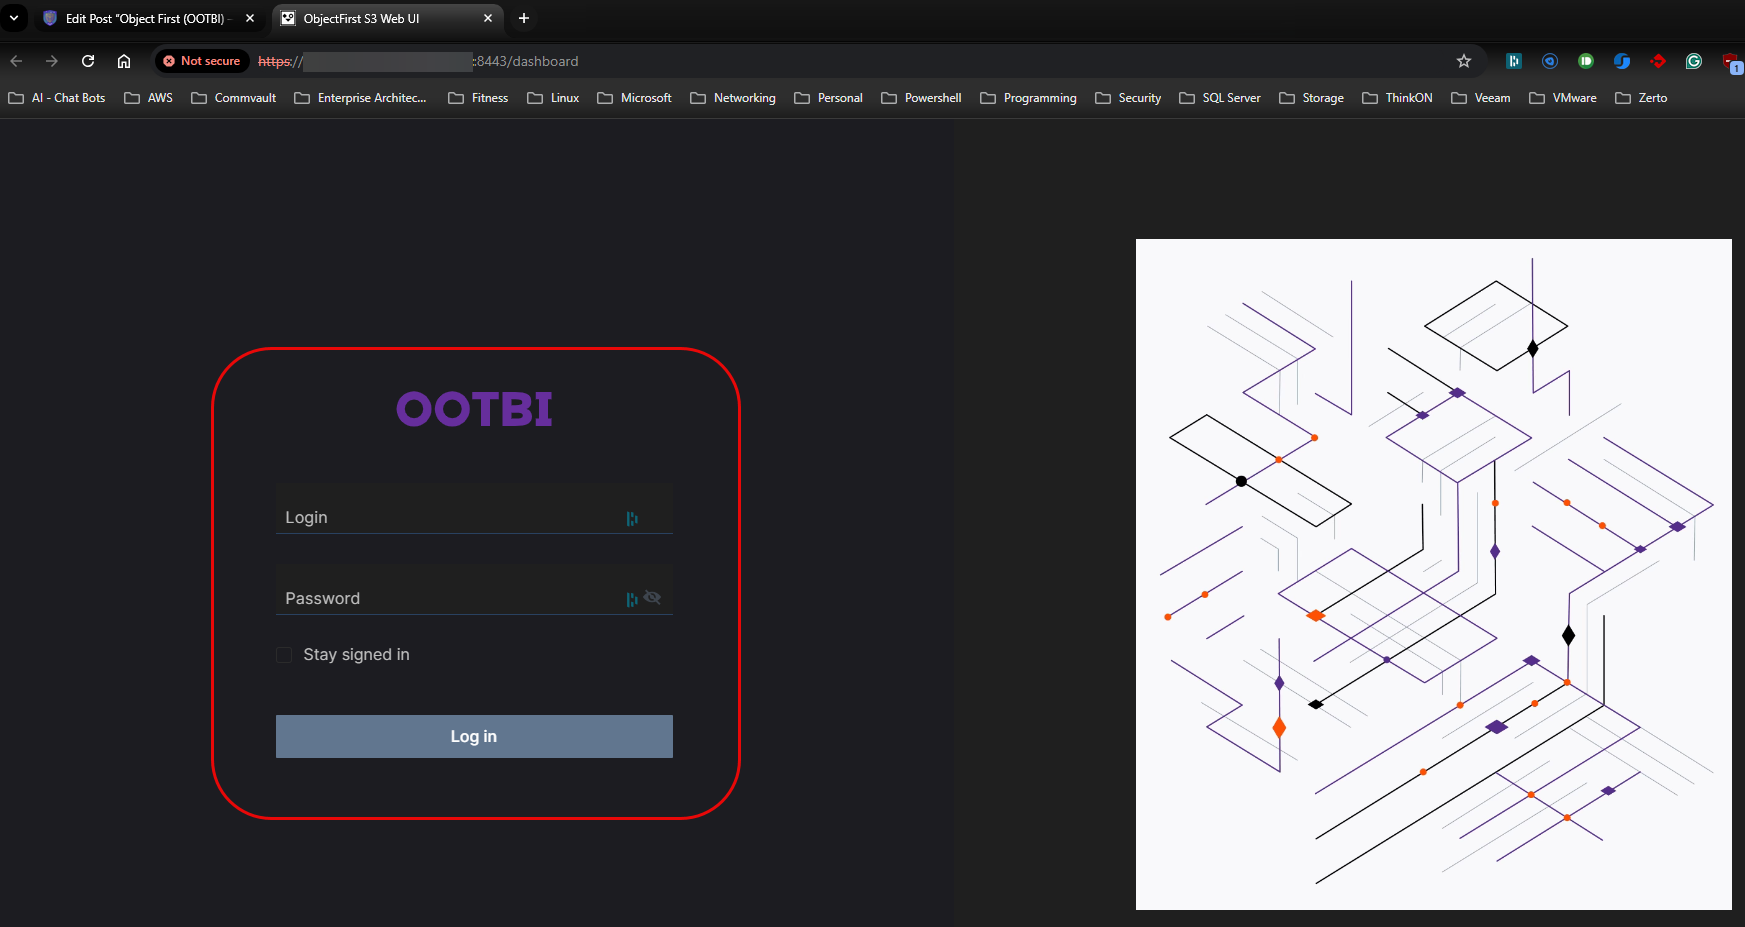
When you first go to the Web UI URL for your OOTBI box, you need to log in using the " objectfirst" user and password you set during the initial setup phase, which you can see in my first blog post in the link above. After you log in for the first time, OOTBI prompts you through the main setup wizard, starting with creating S3 Keys for your user account.
After login in, you will see the initial setup wizard prompts starting with the S3 Keys -
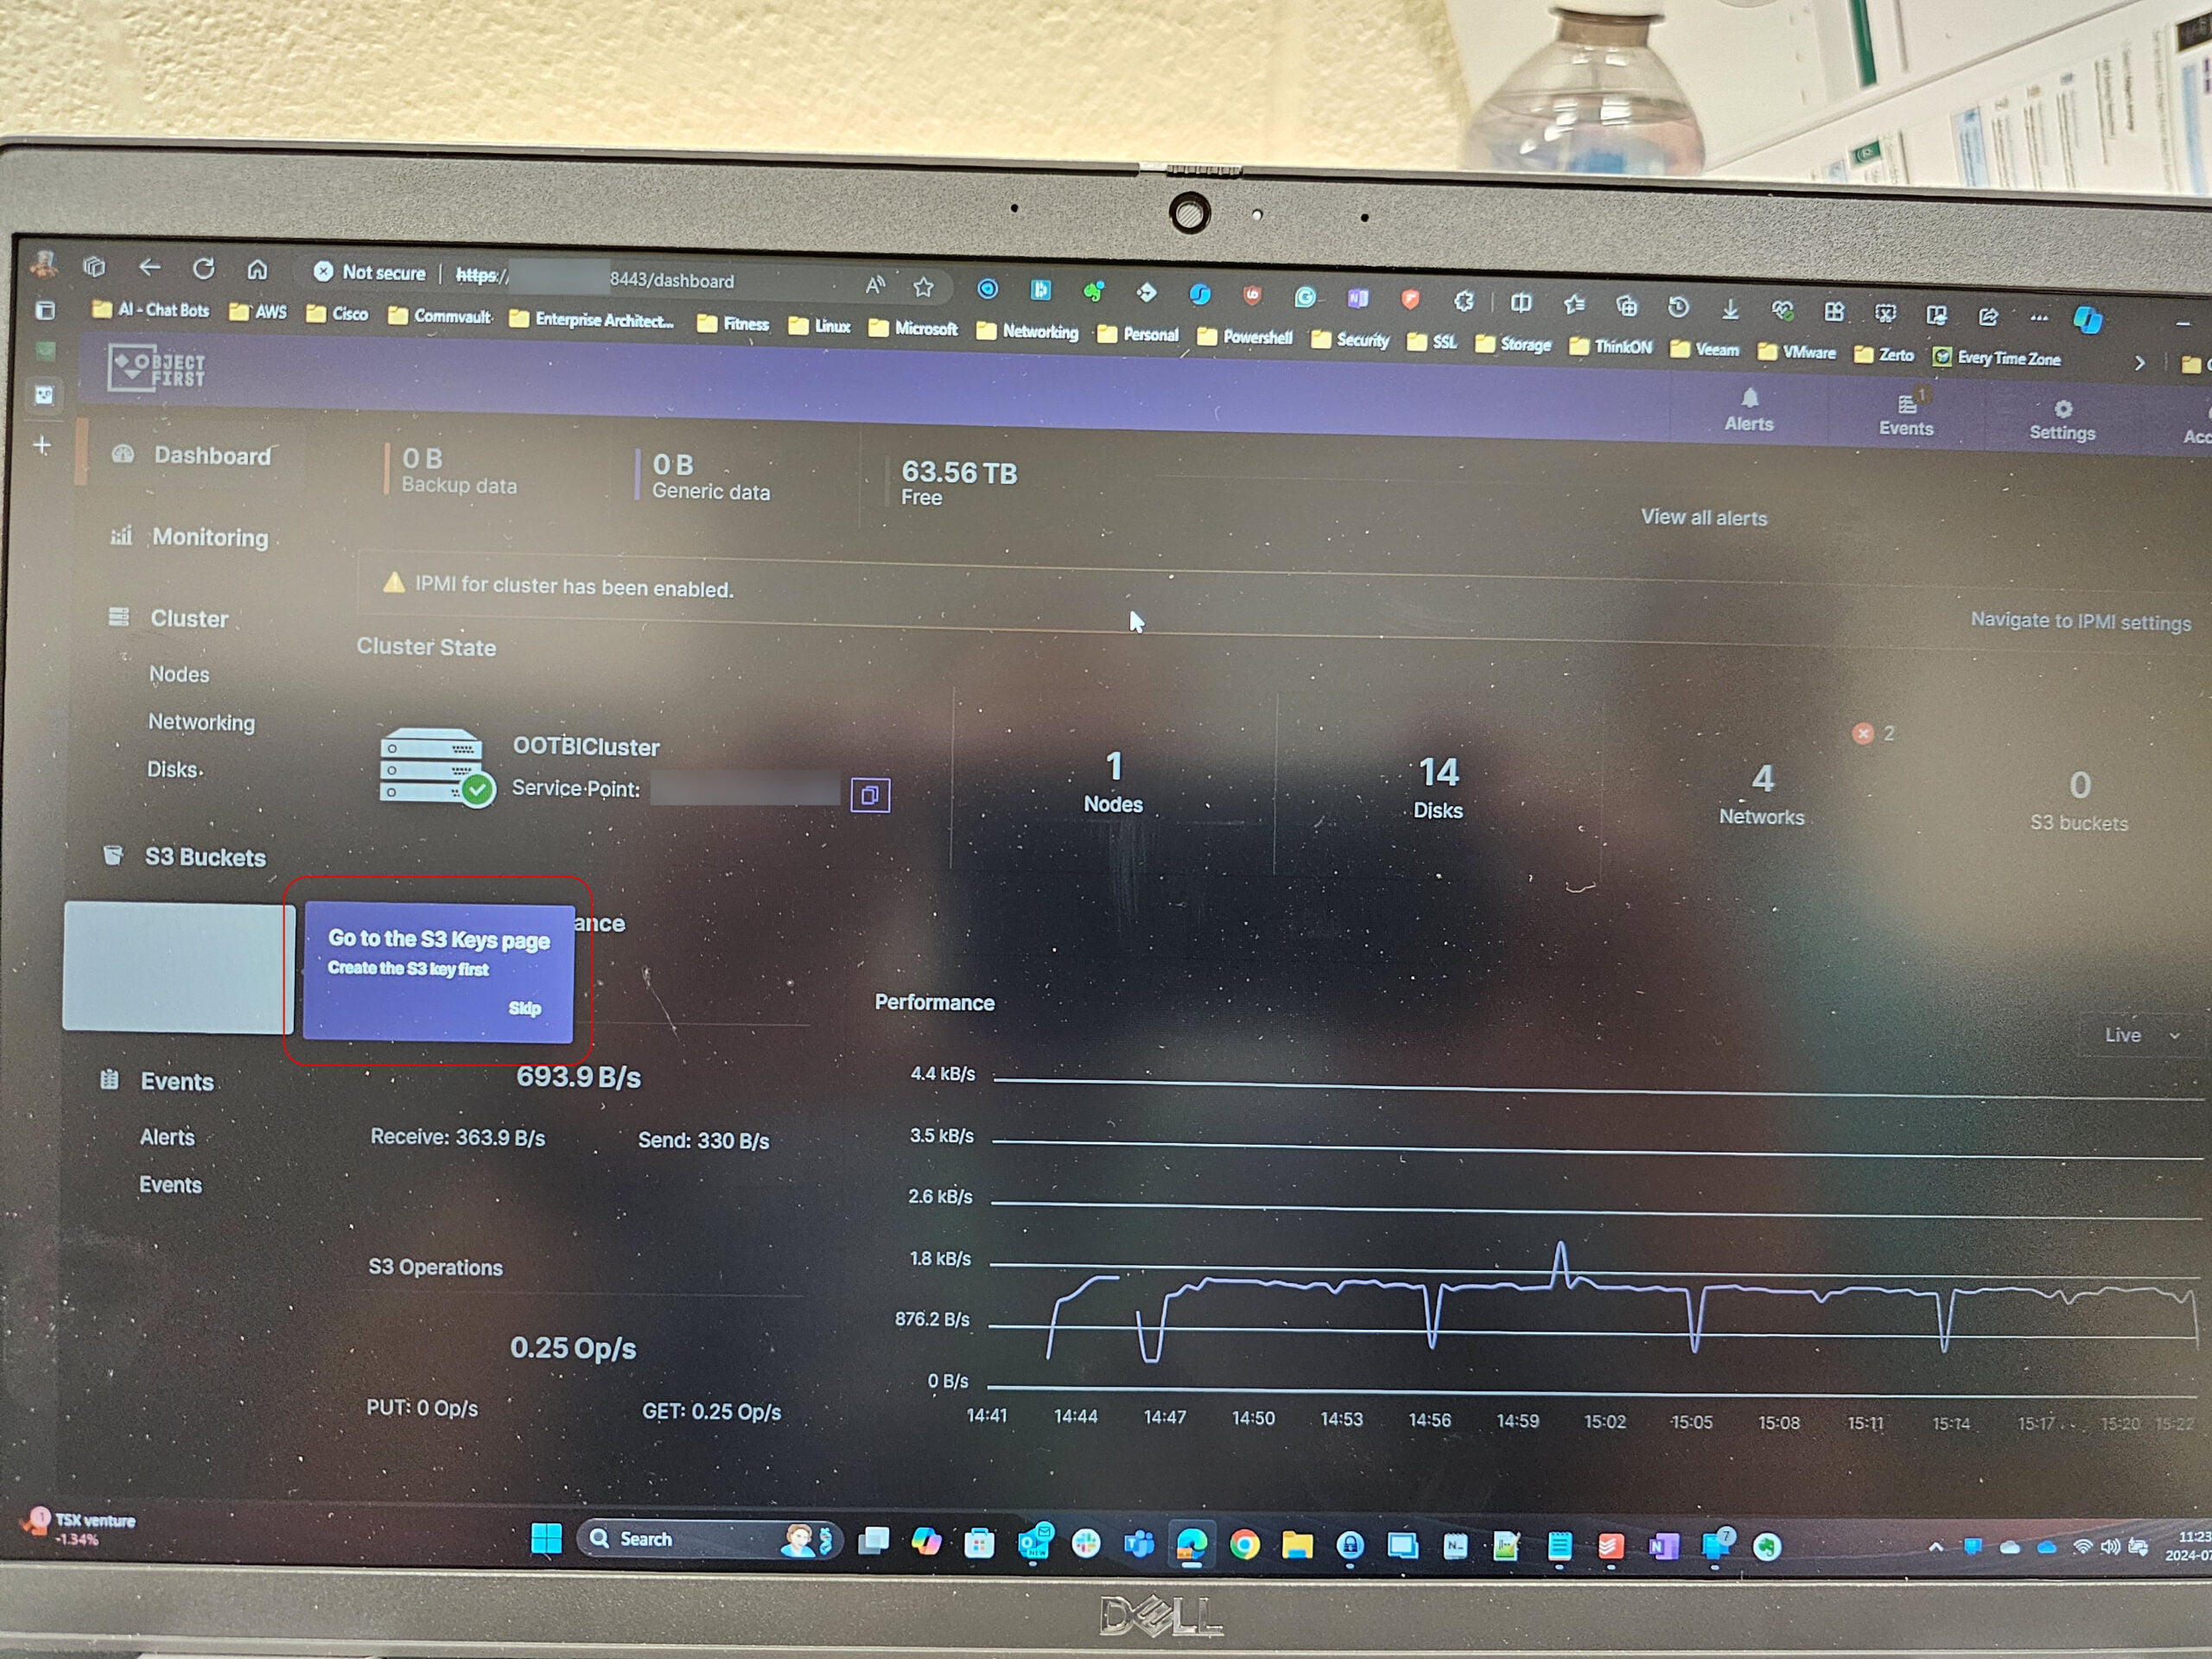
You click on the box that is highlighted then it takes you through creating the S3 Keys as well as the other steps -
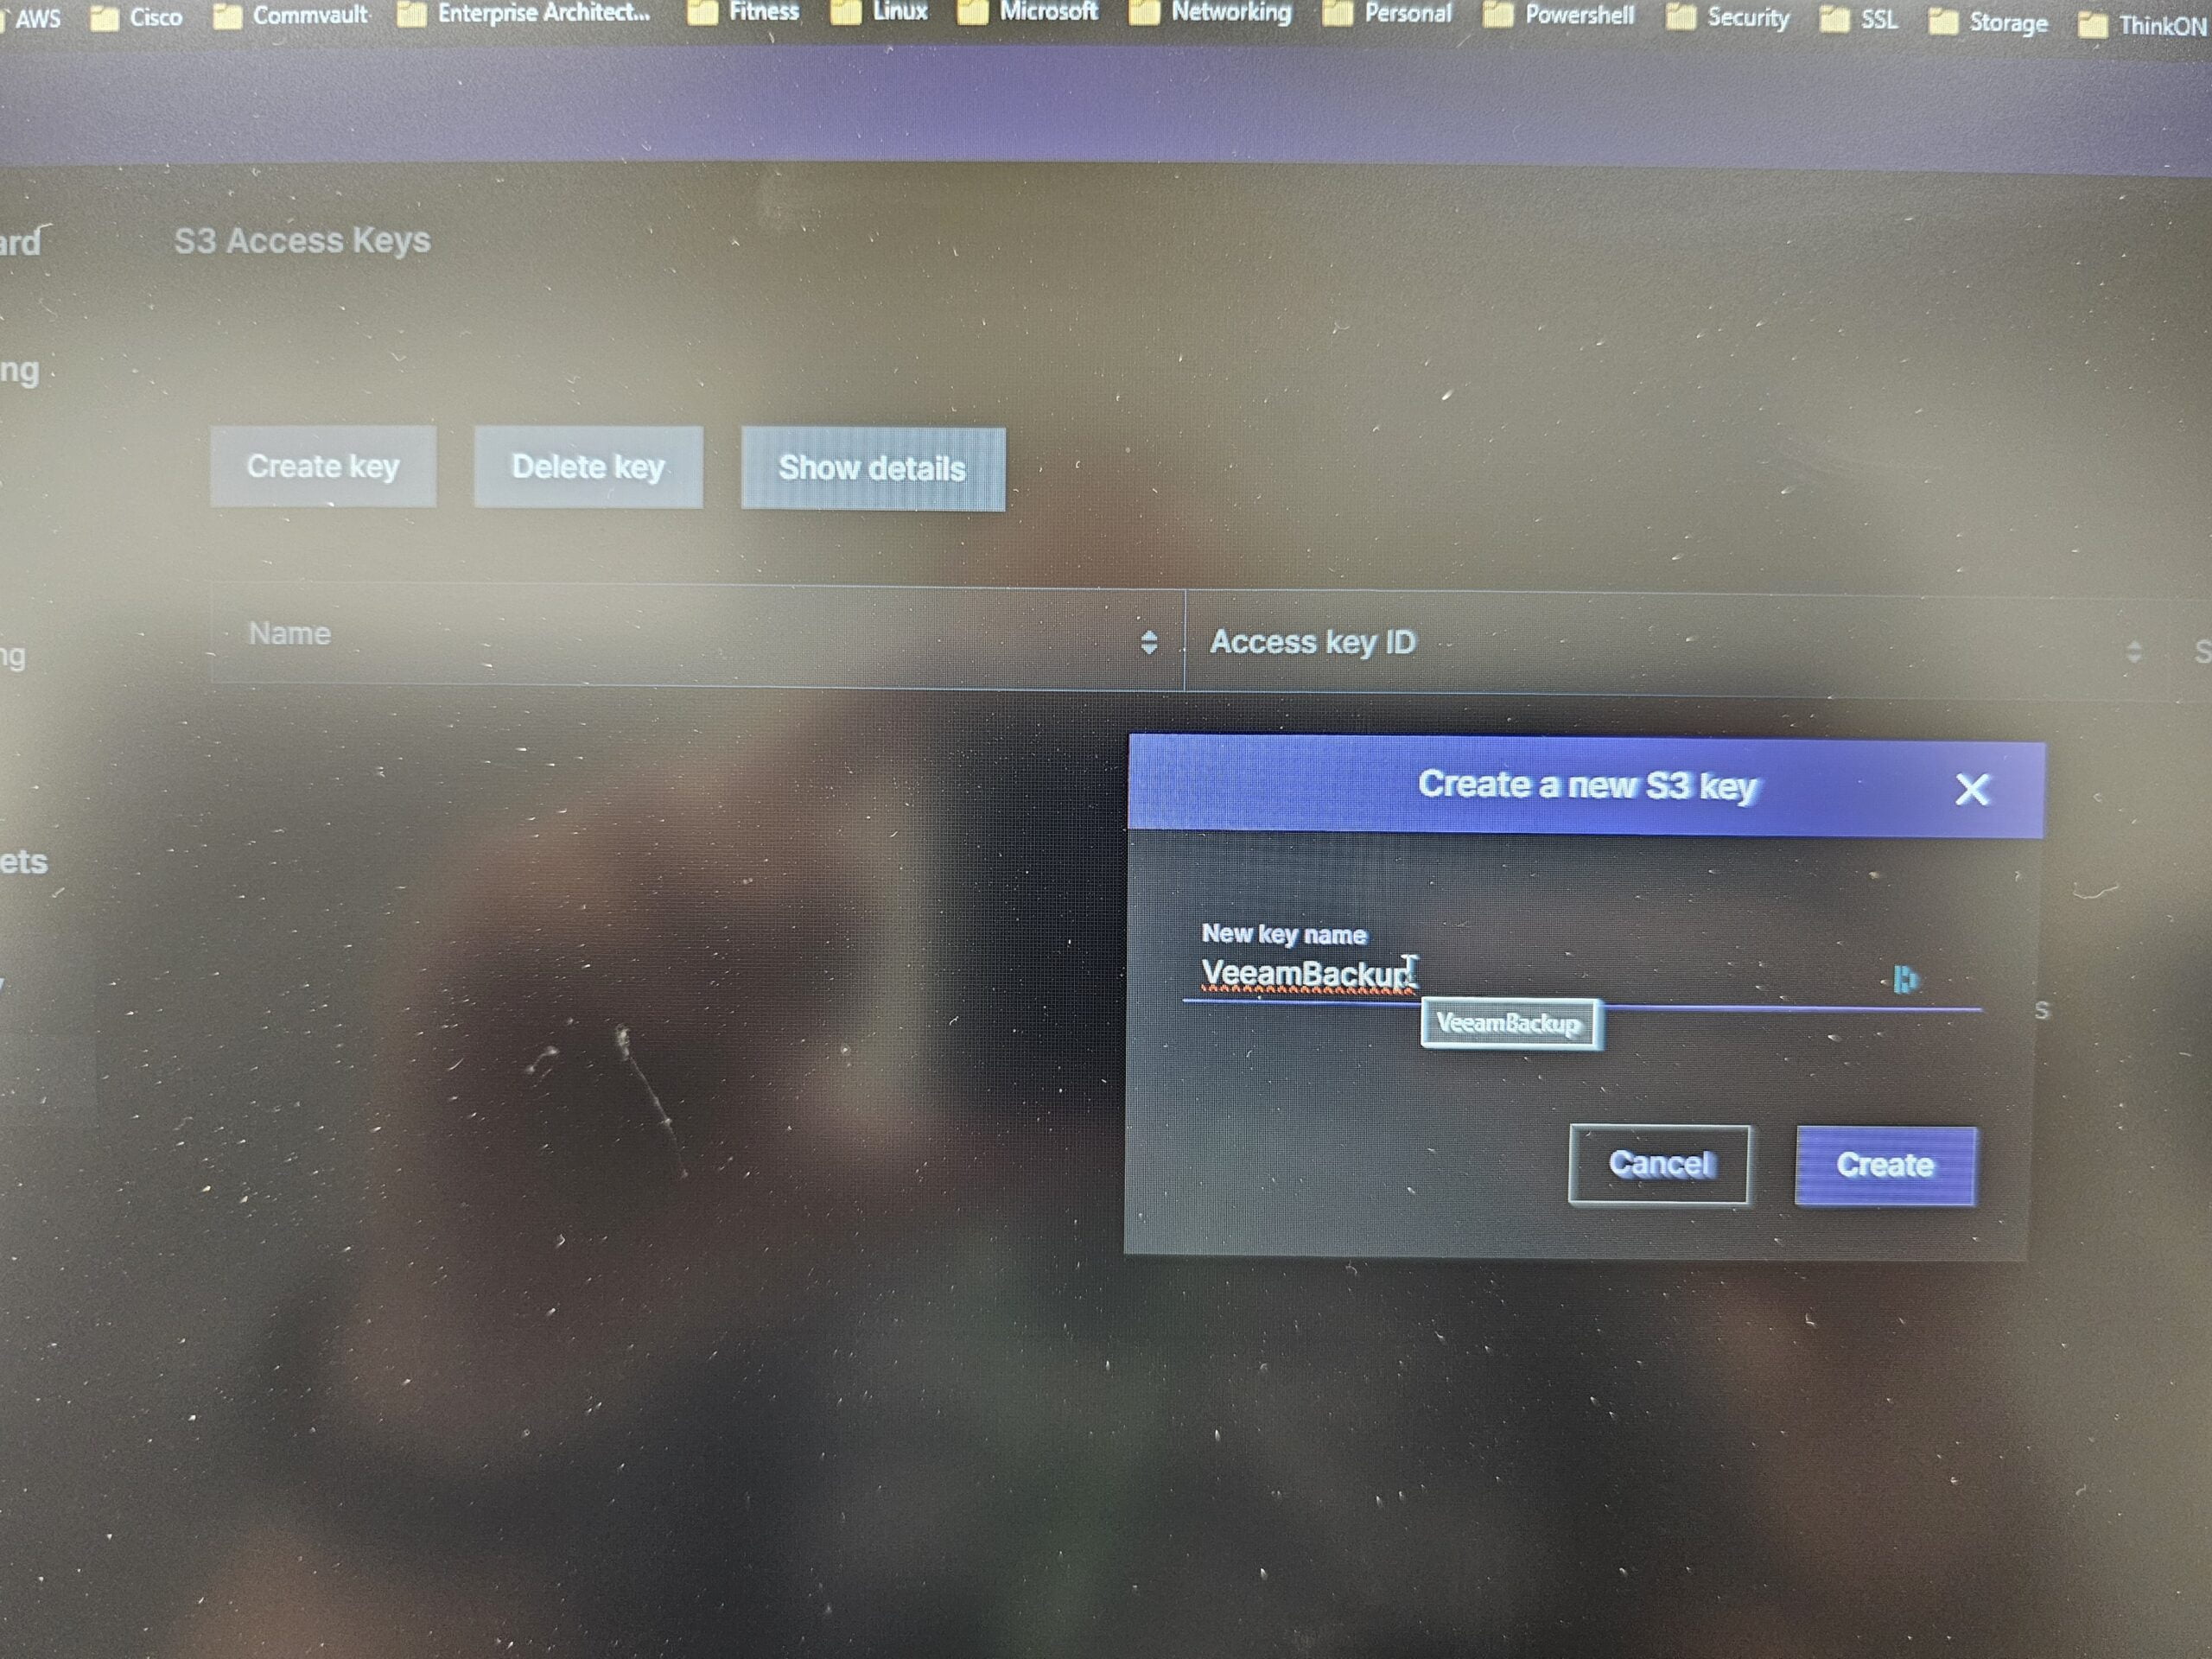
You name the S3 Key, and then it will generate both the Access & Secret keys for the currently logged-in user. If you wish to create a specific user for Veeam to have the access keys associated with, then you need to create the new user, log in as that user and generate new S3 Keys. One of the quirks with the current setup is that the S3 Keys created are associated with the logged-in user. I have given feedback to allow you to make keys for other users while logged in as an Administrator-type user.
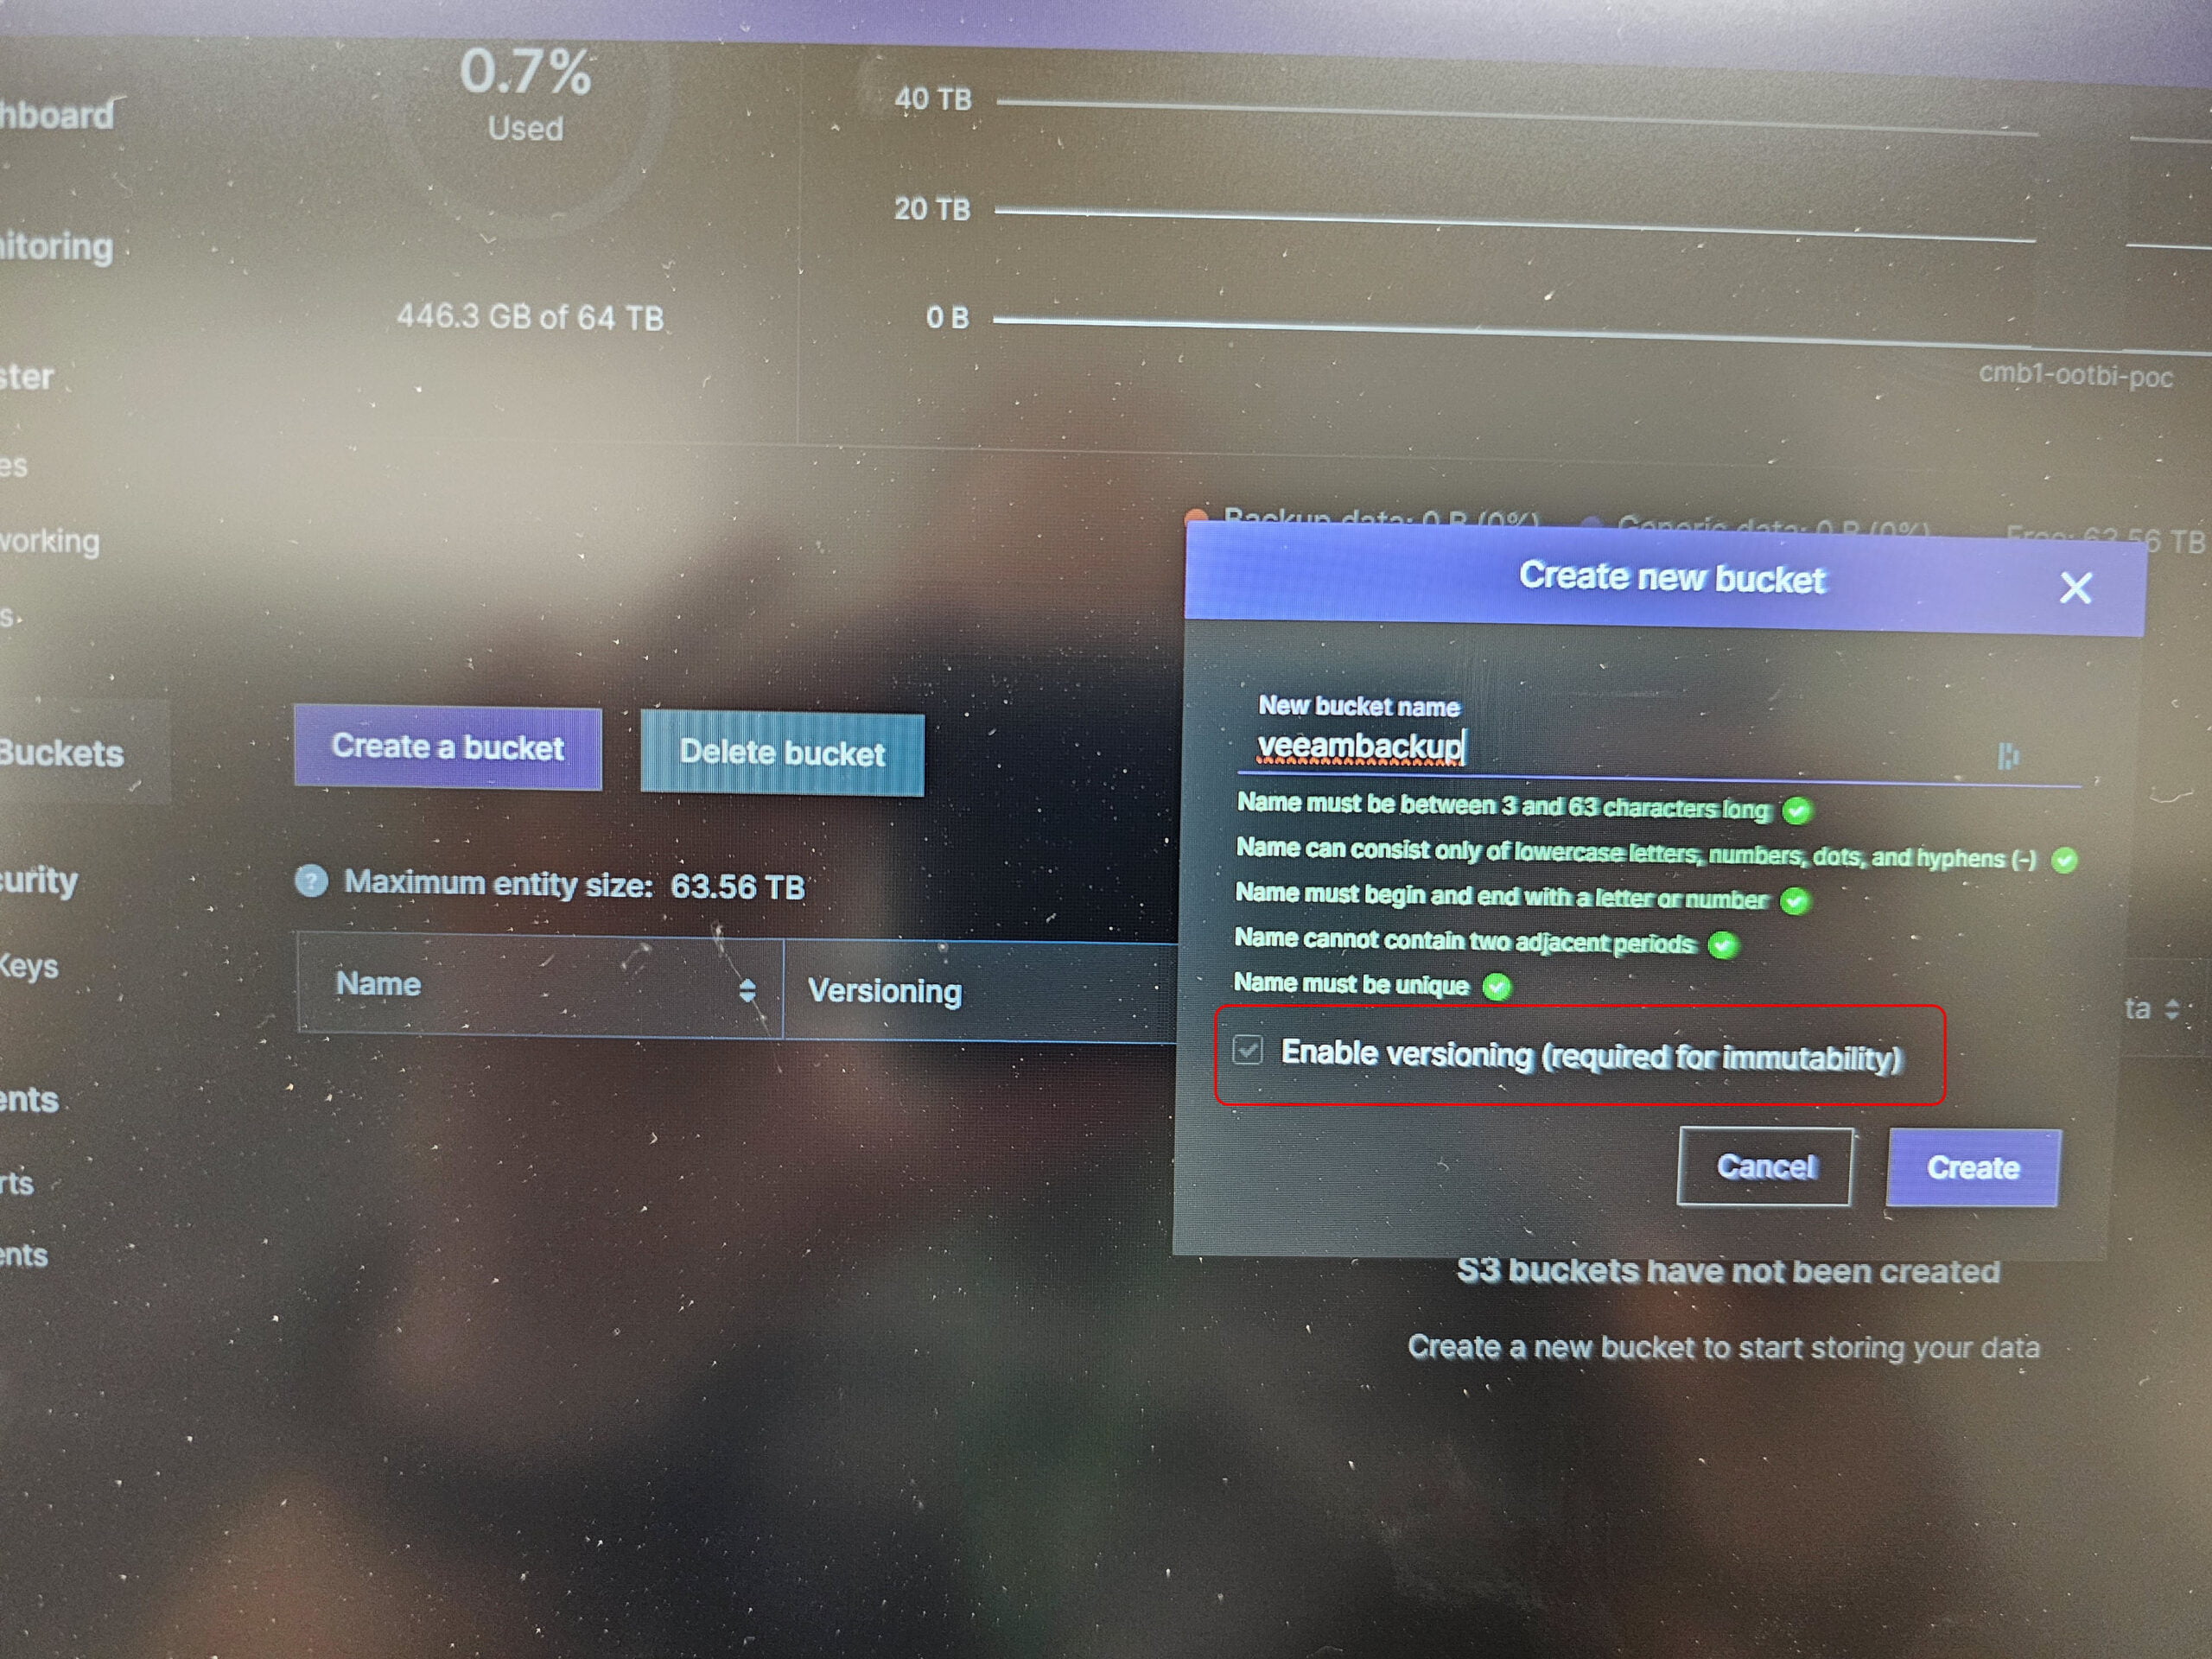
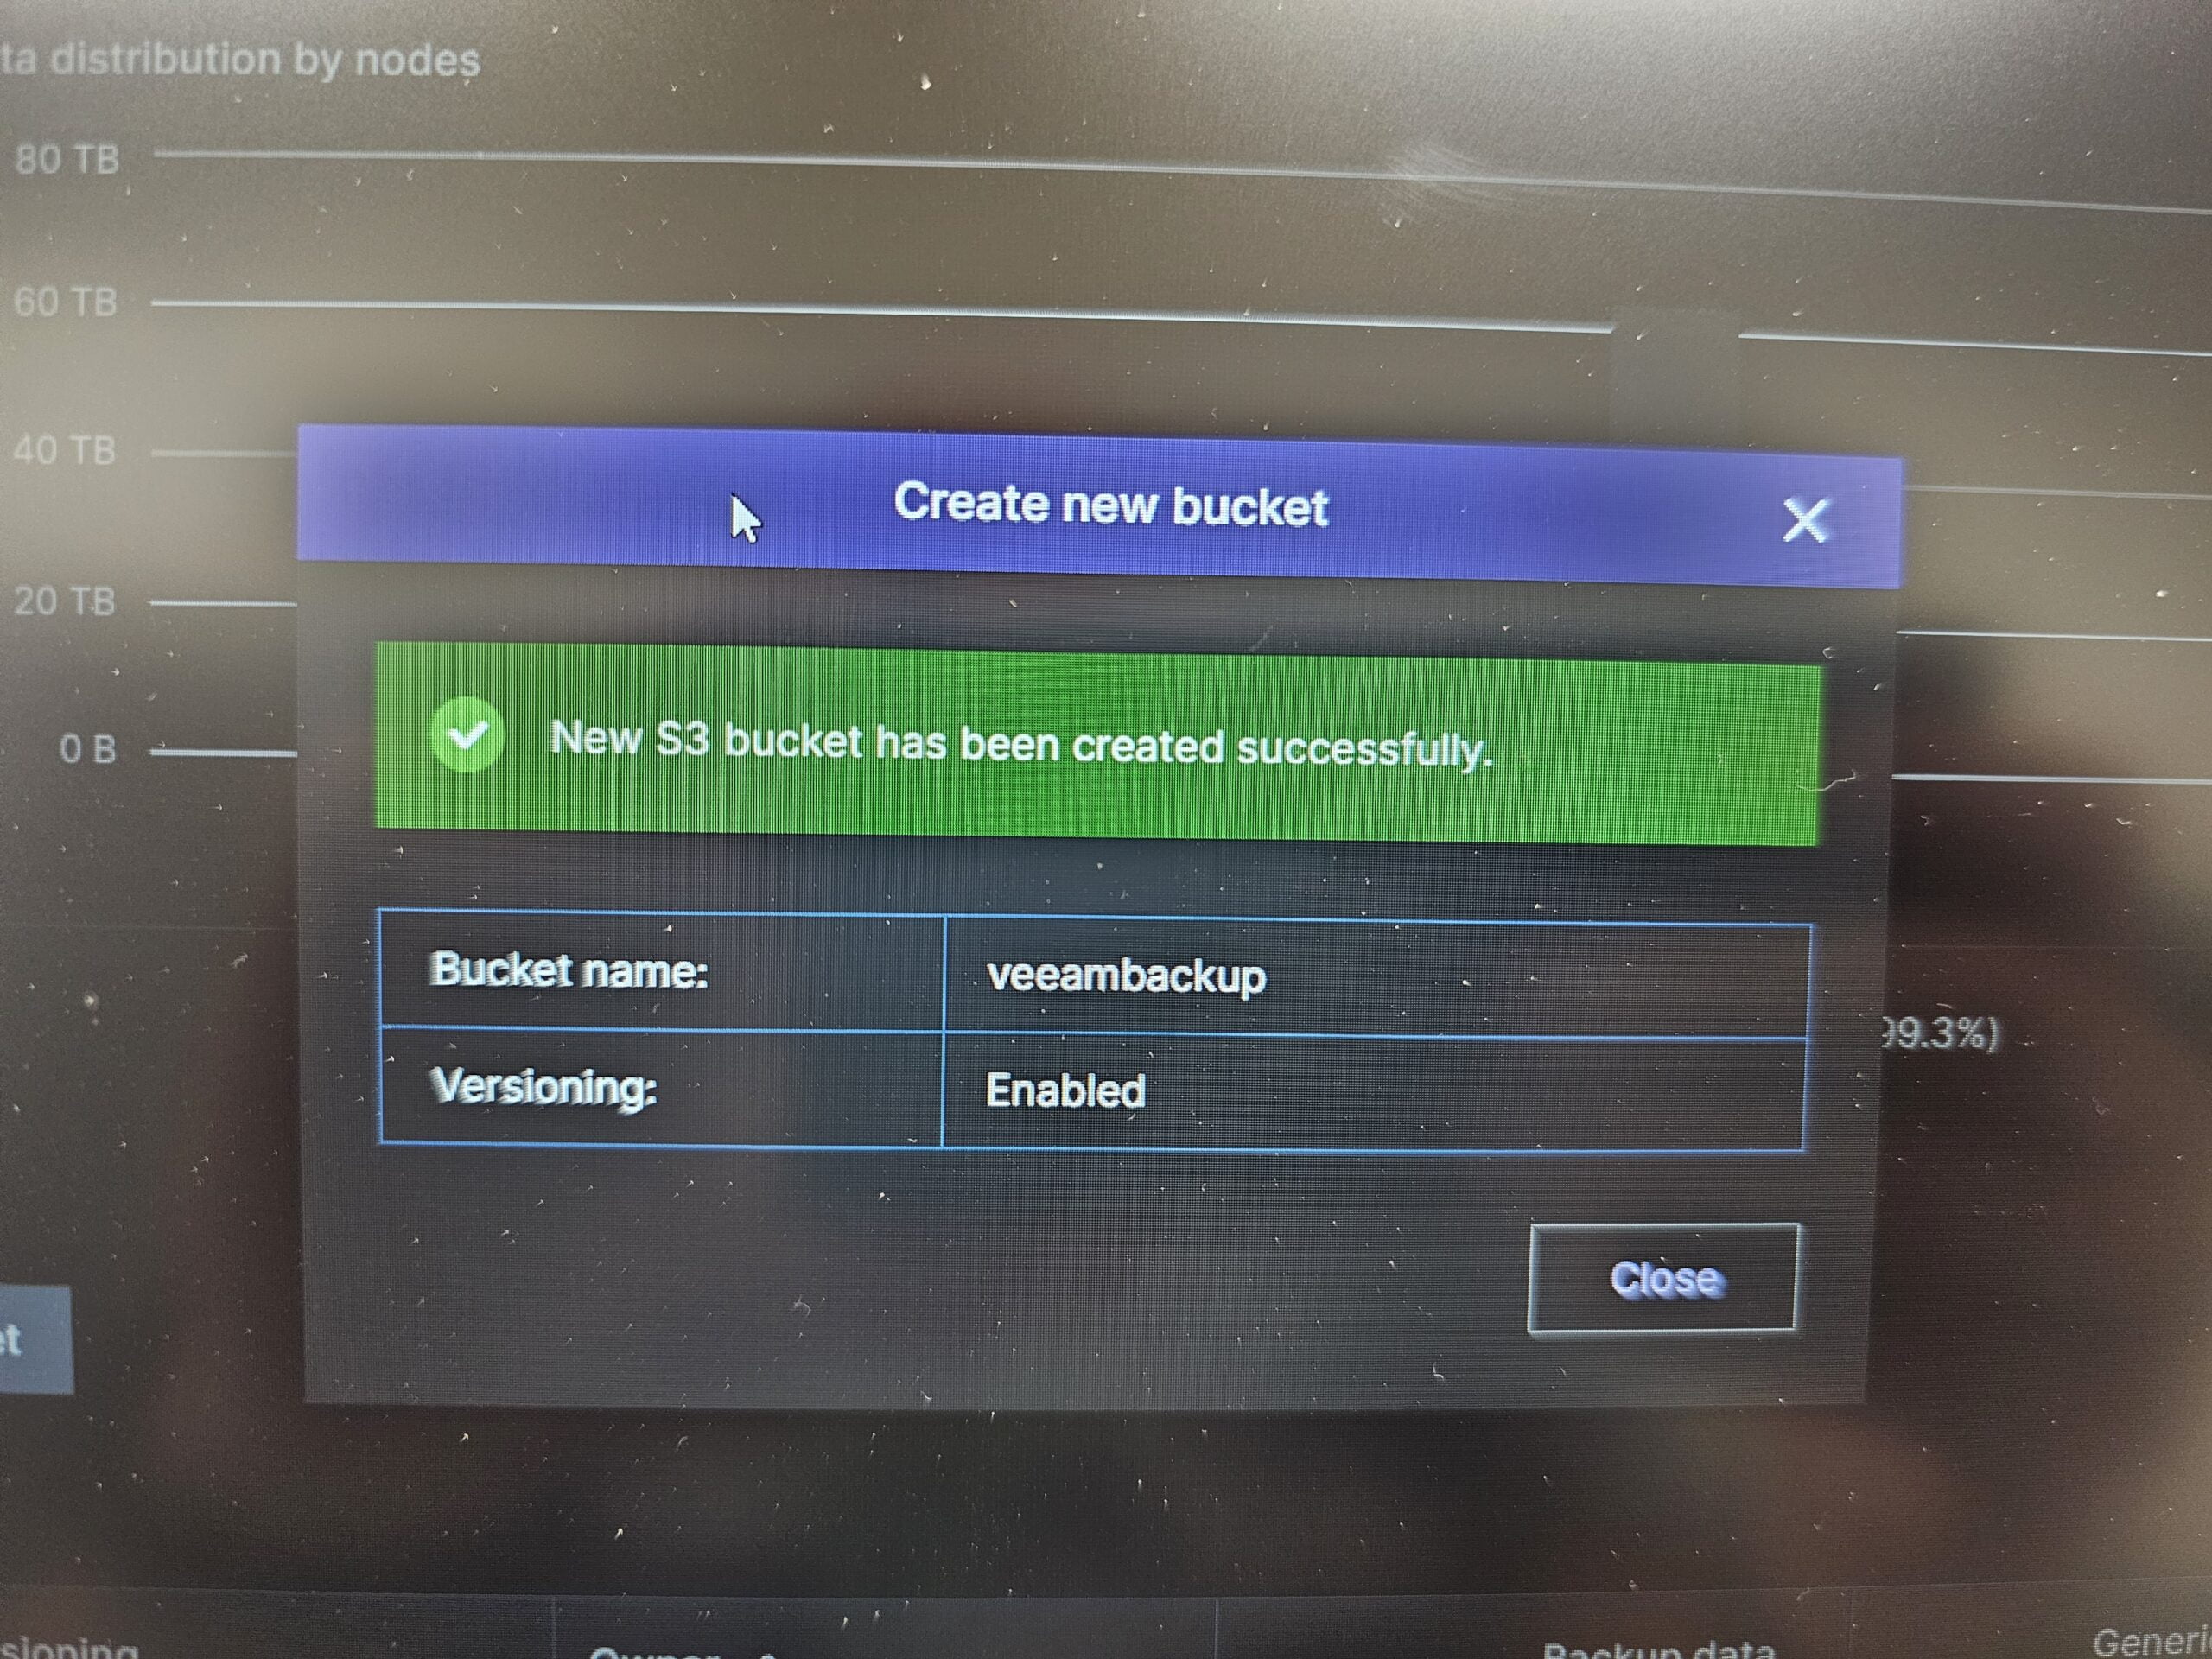
The last step of the initial setup is creating the S3 Bucket, which will be highlighted after creating the S3 Keys, as seen in the previous screenshot. So, follow this wizard in the same manner as when creating the S3 keys. You will note that Object First (OOTBI) has the “Enable versioning (required for immutability)” option selected by default. Still, you can turn it off if you prefer to create a standard non-immutable bucket.
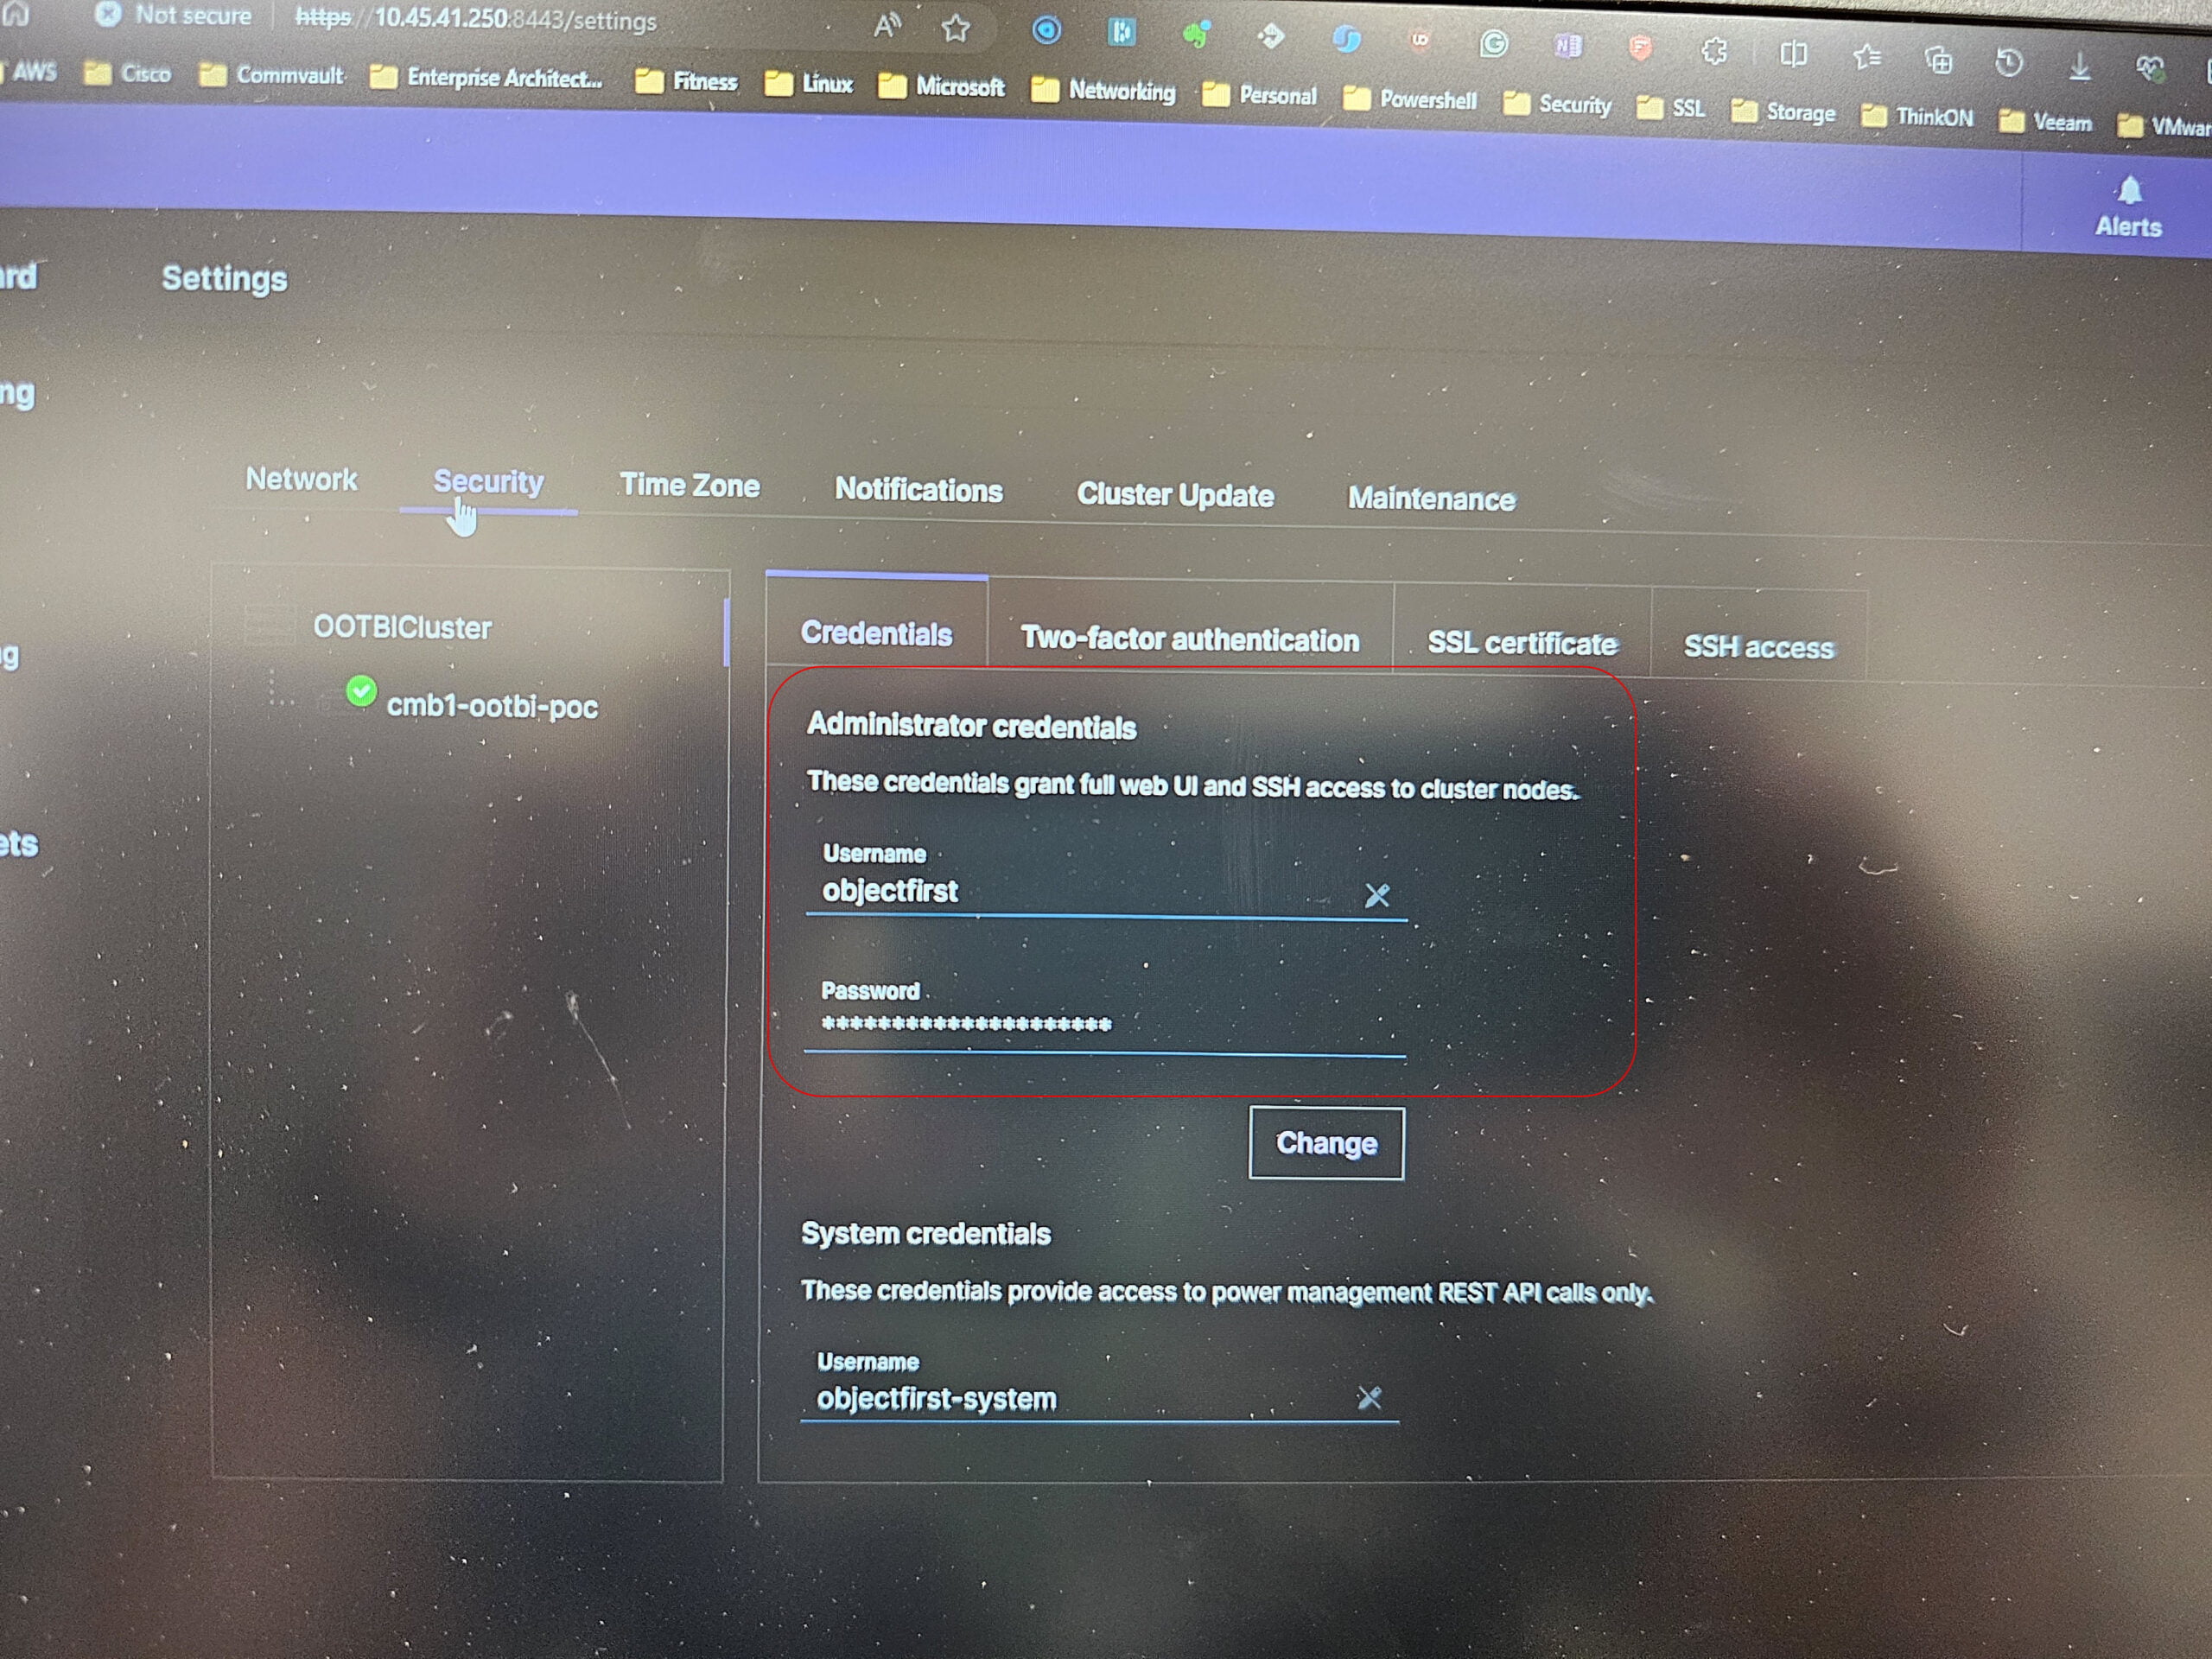
Some other screens that you can navigate to and set up aspects of the OOTBI Cluster are -
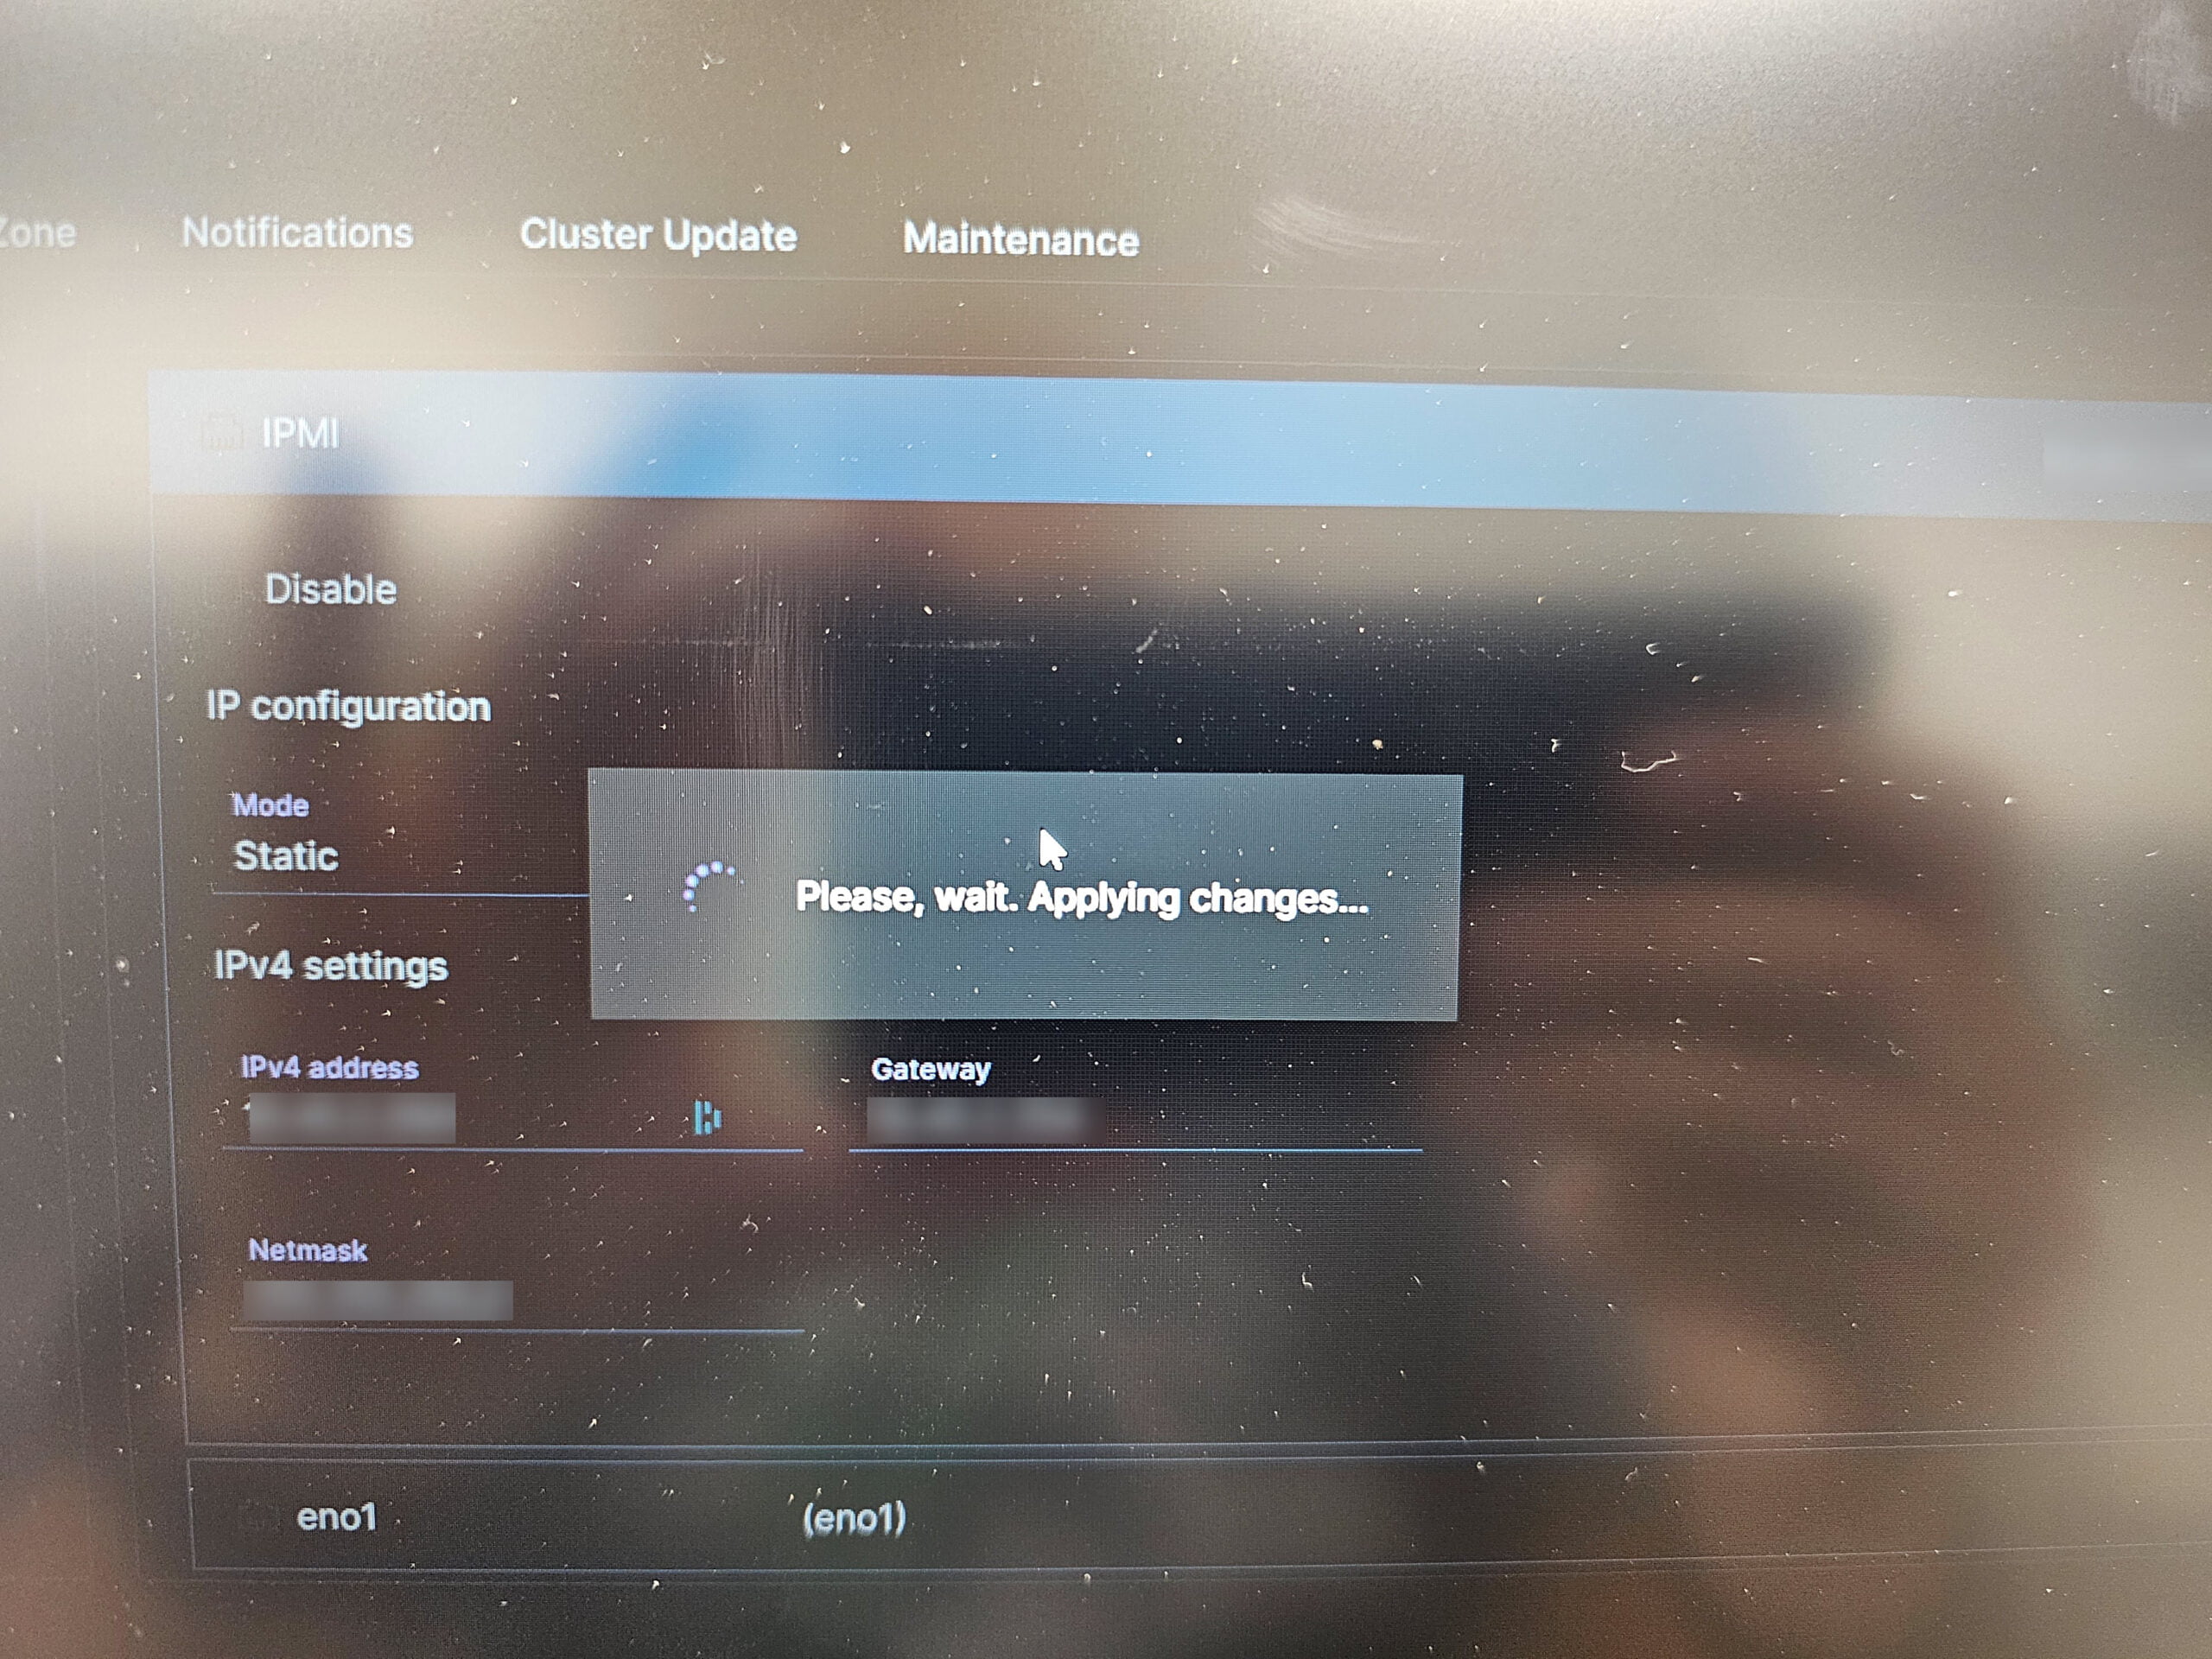
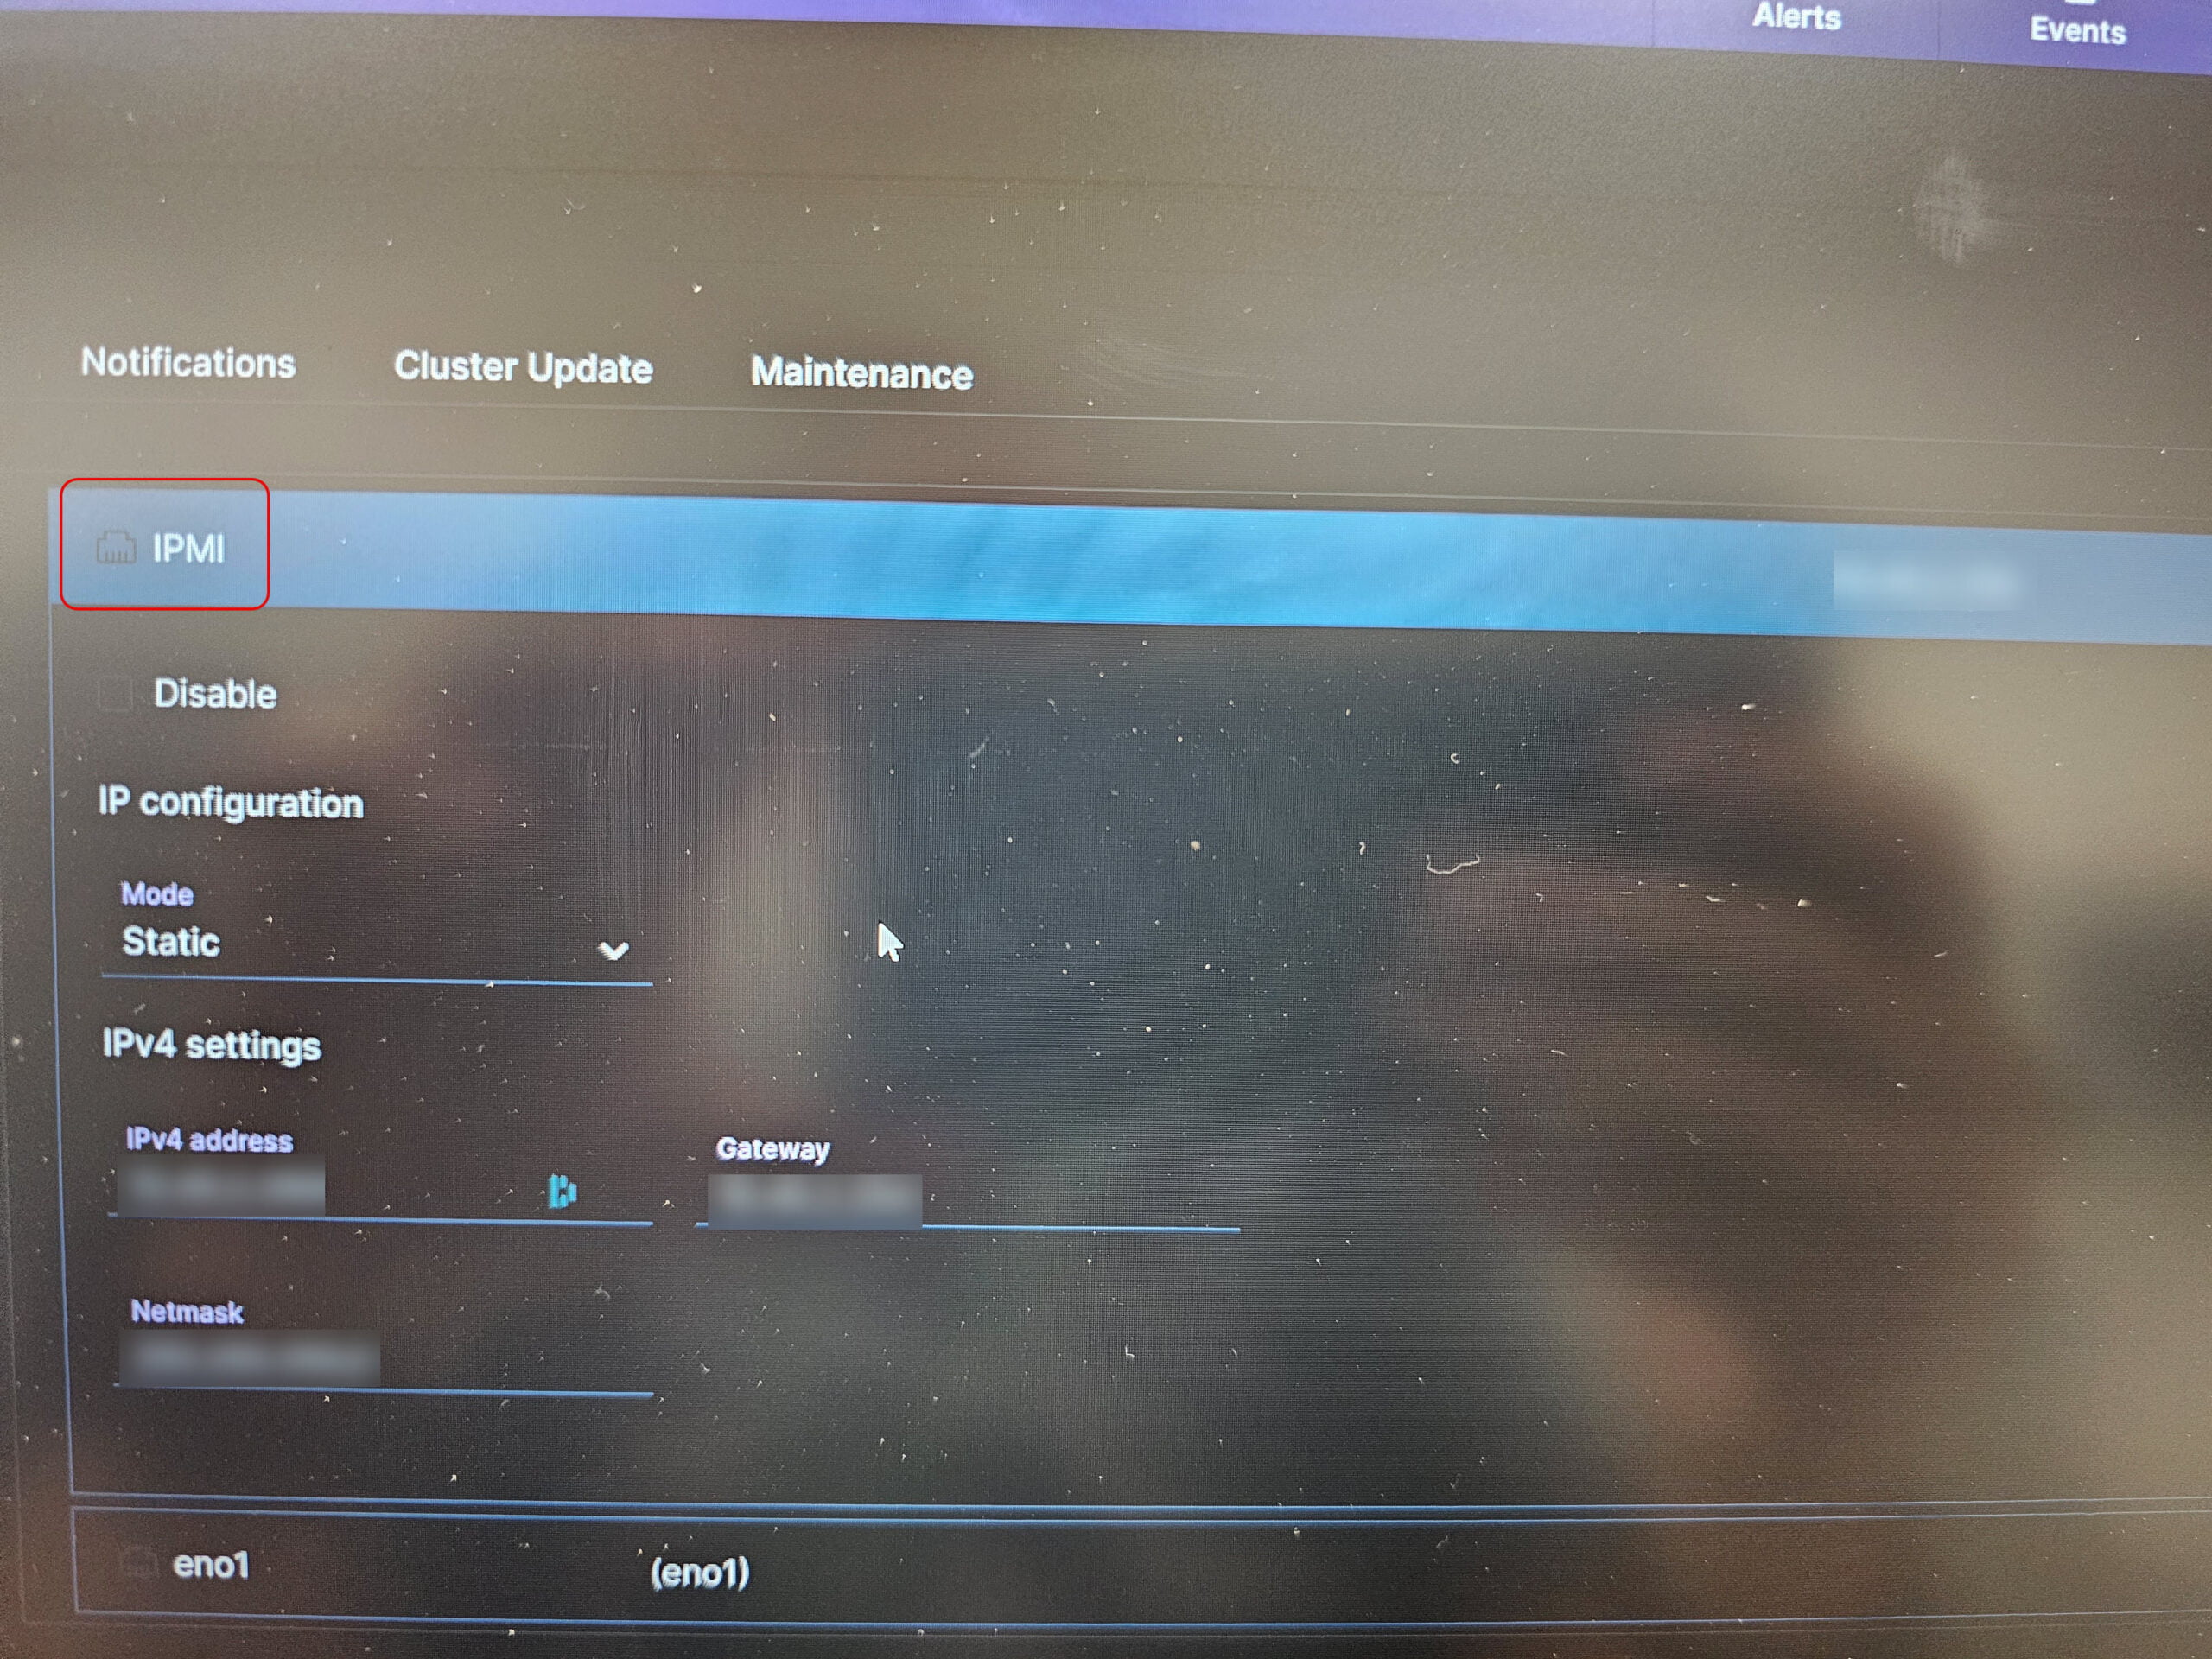
- IPMI - This is the out-of-box management connection for Support and troubleshooting
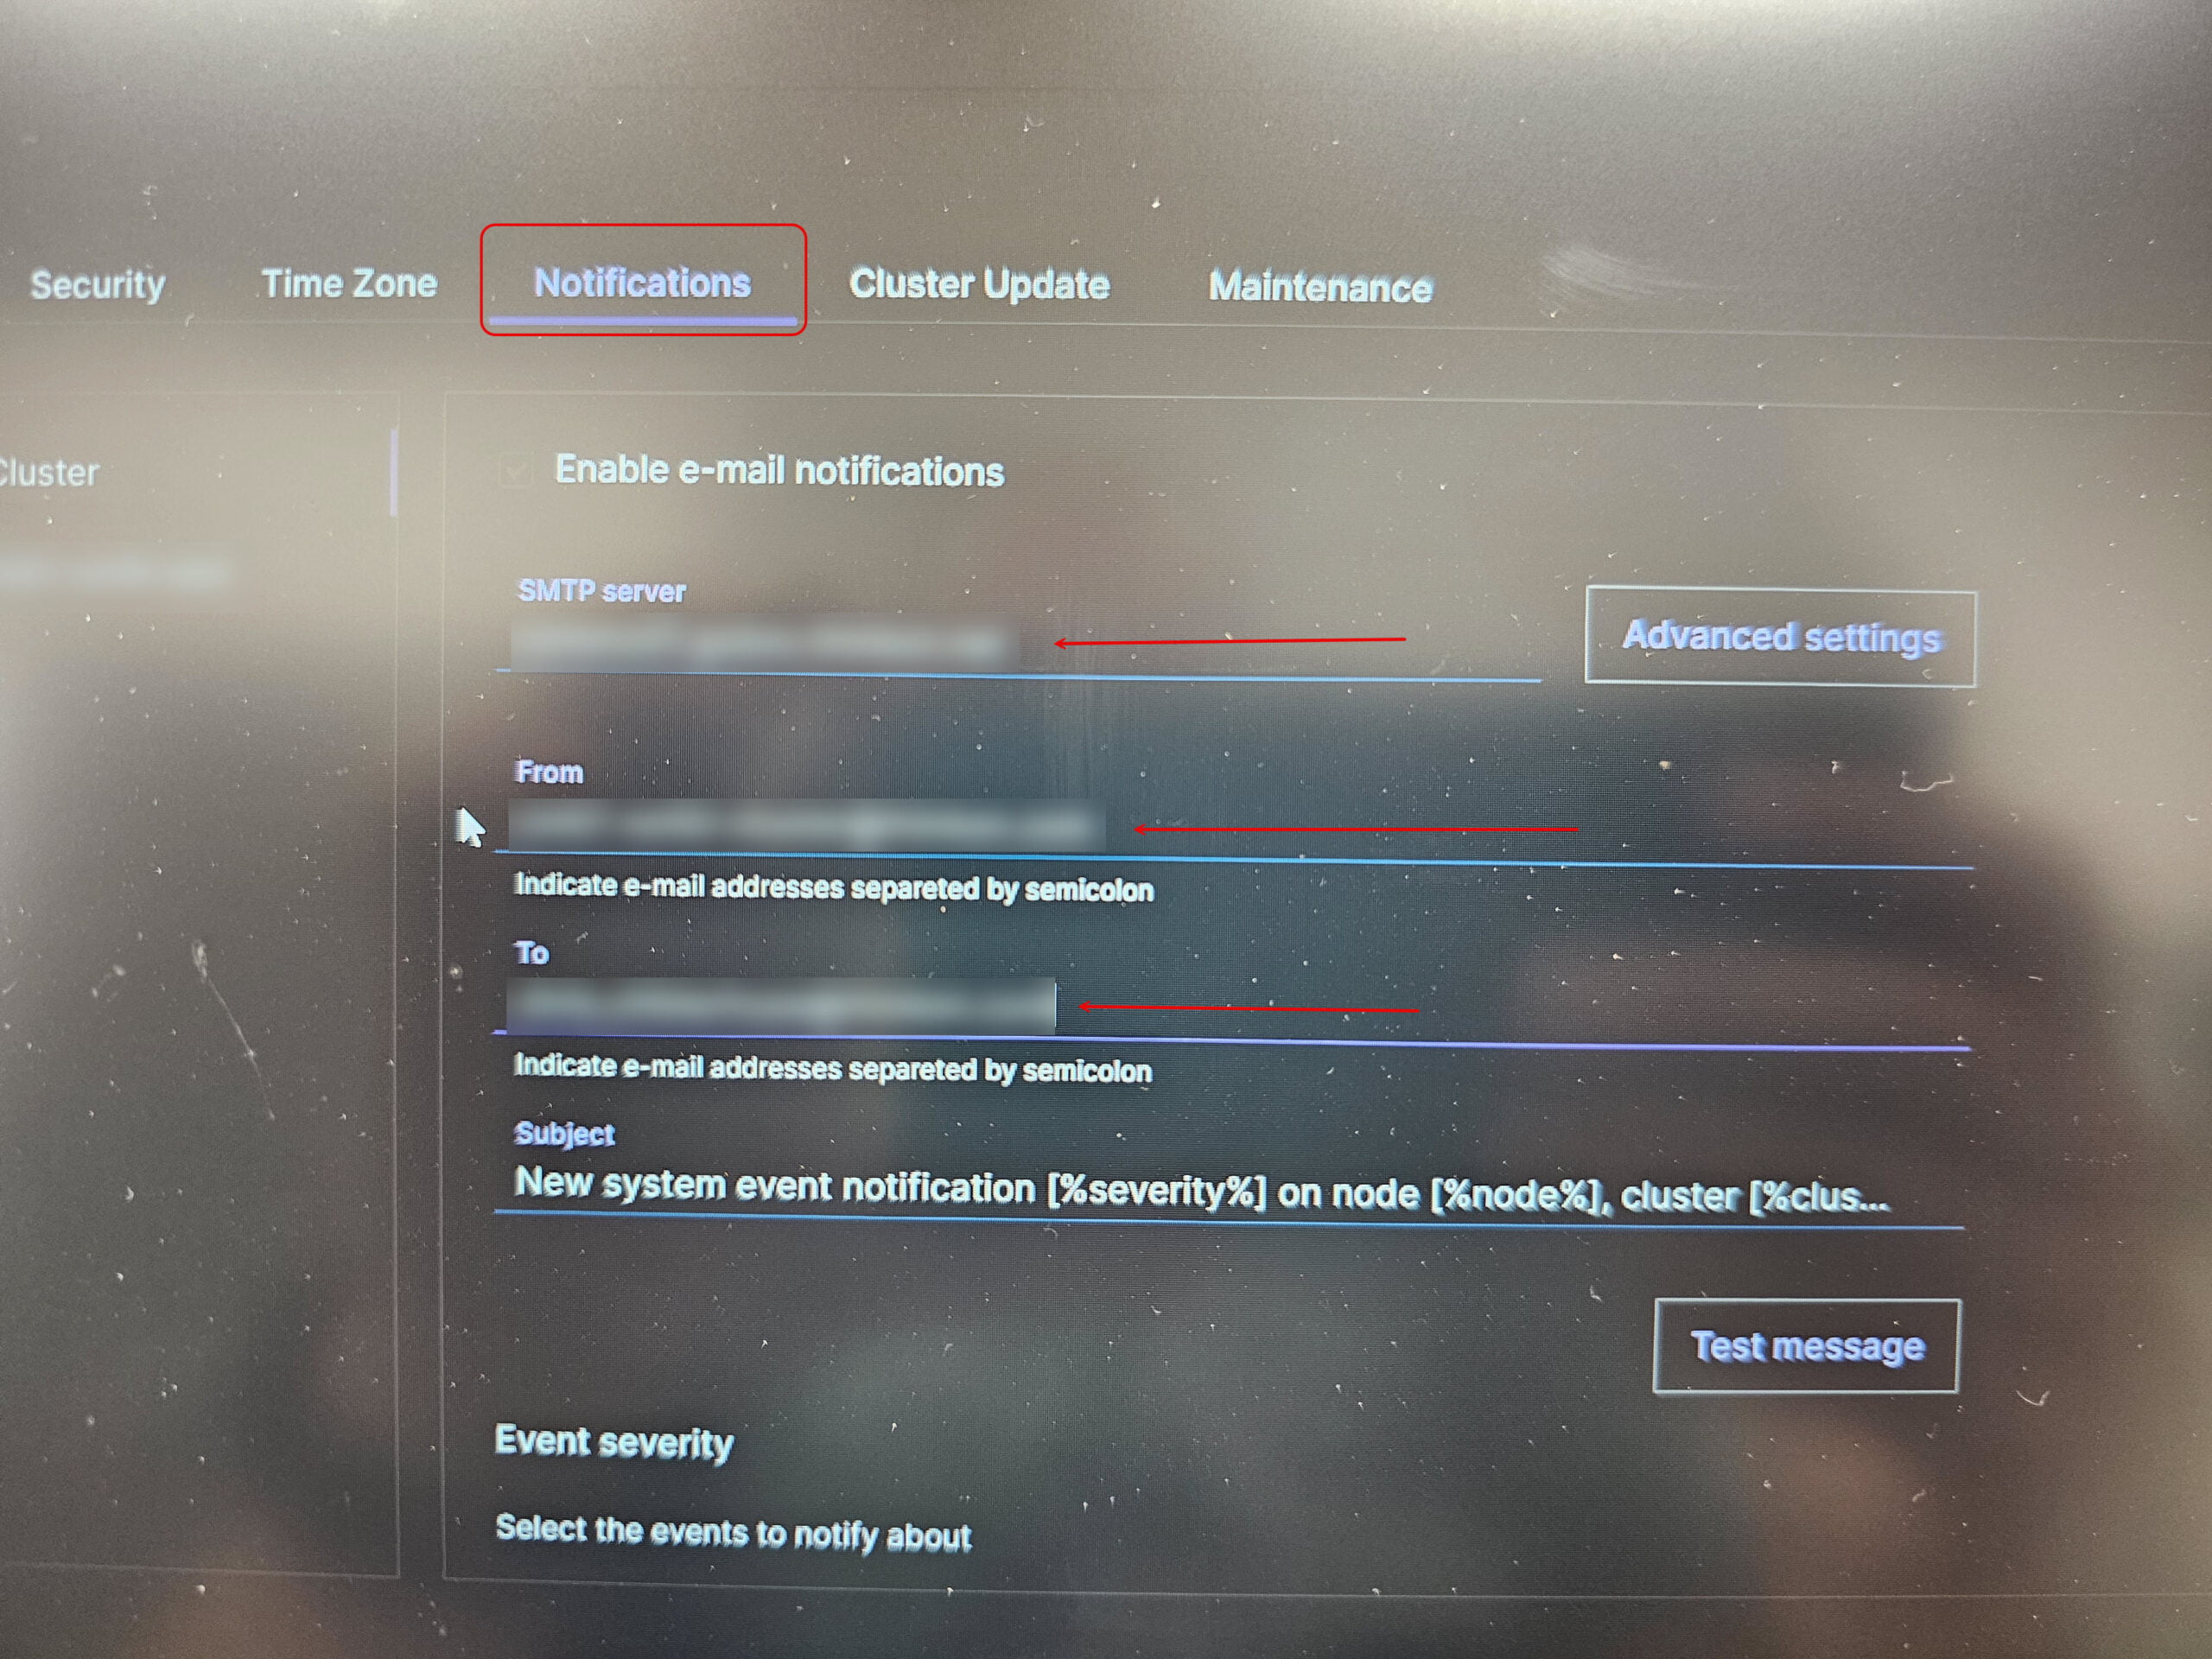
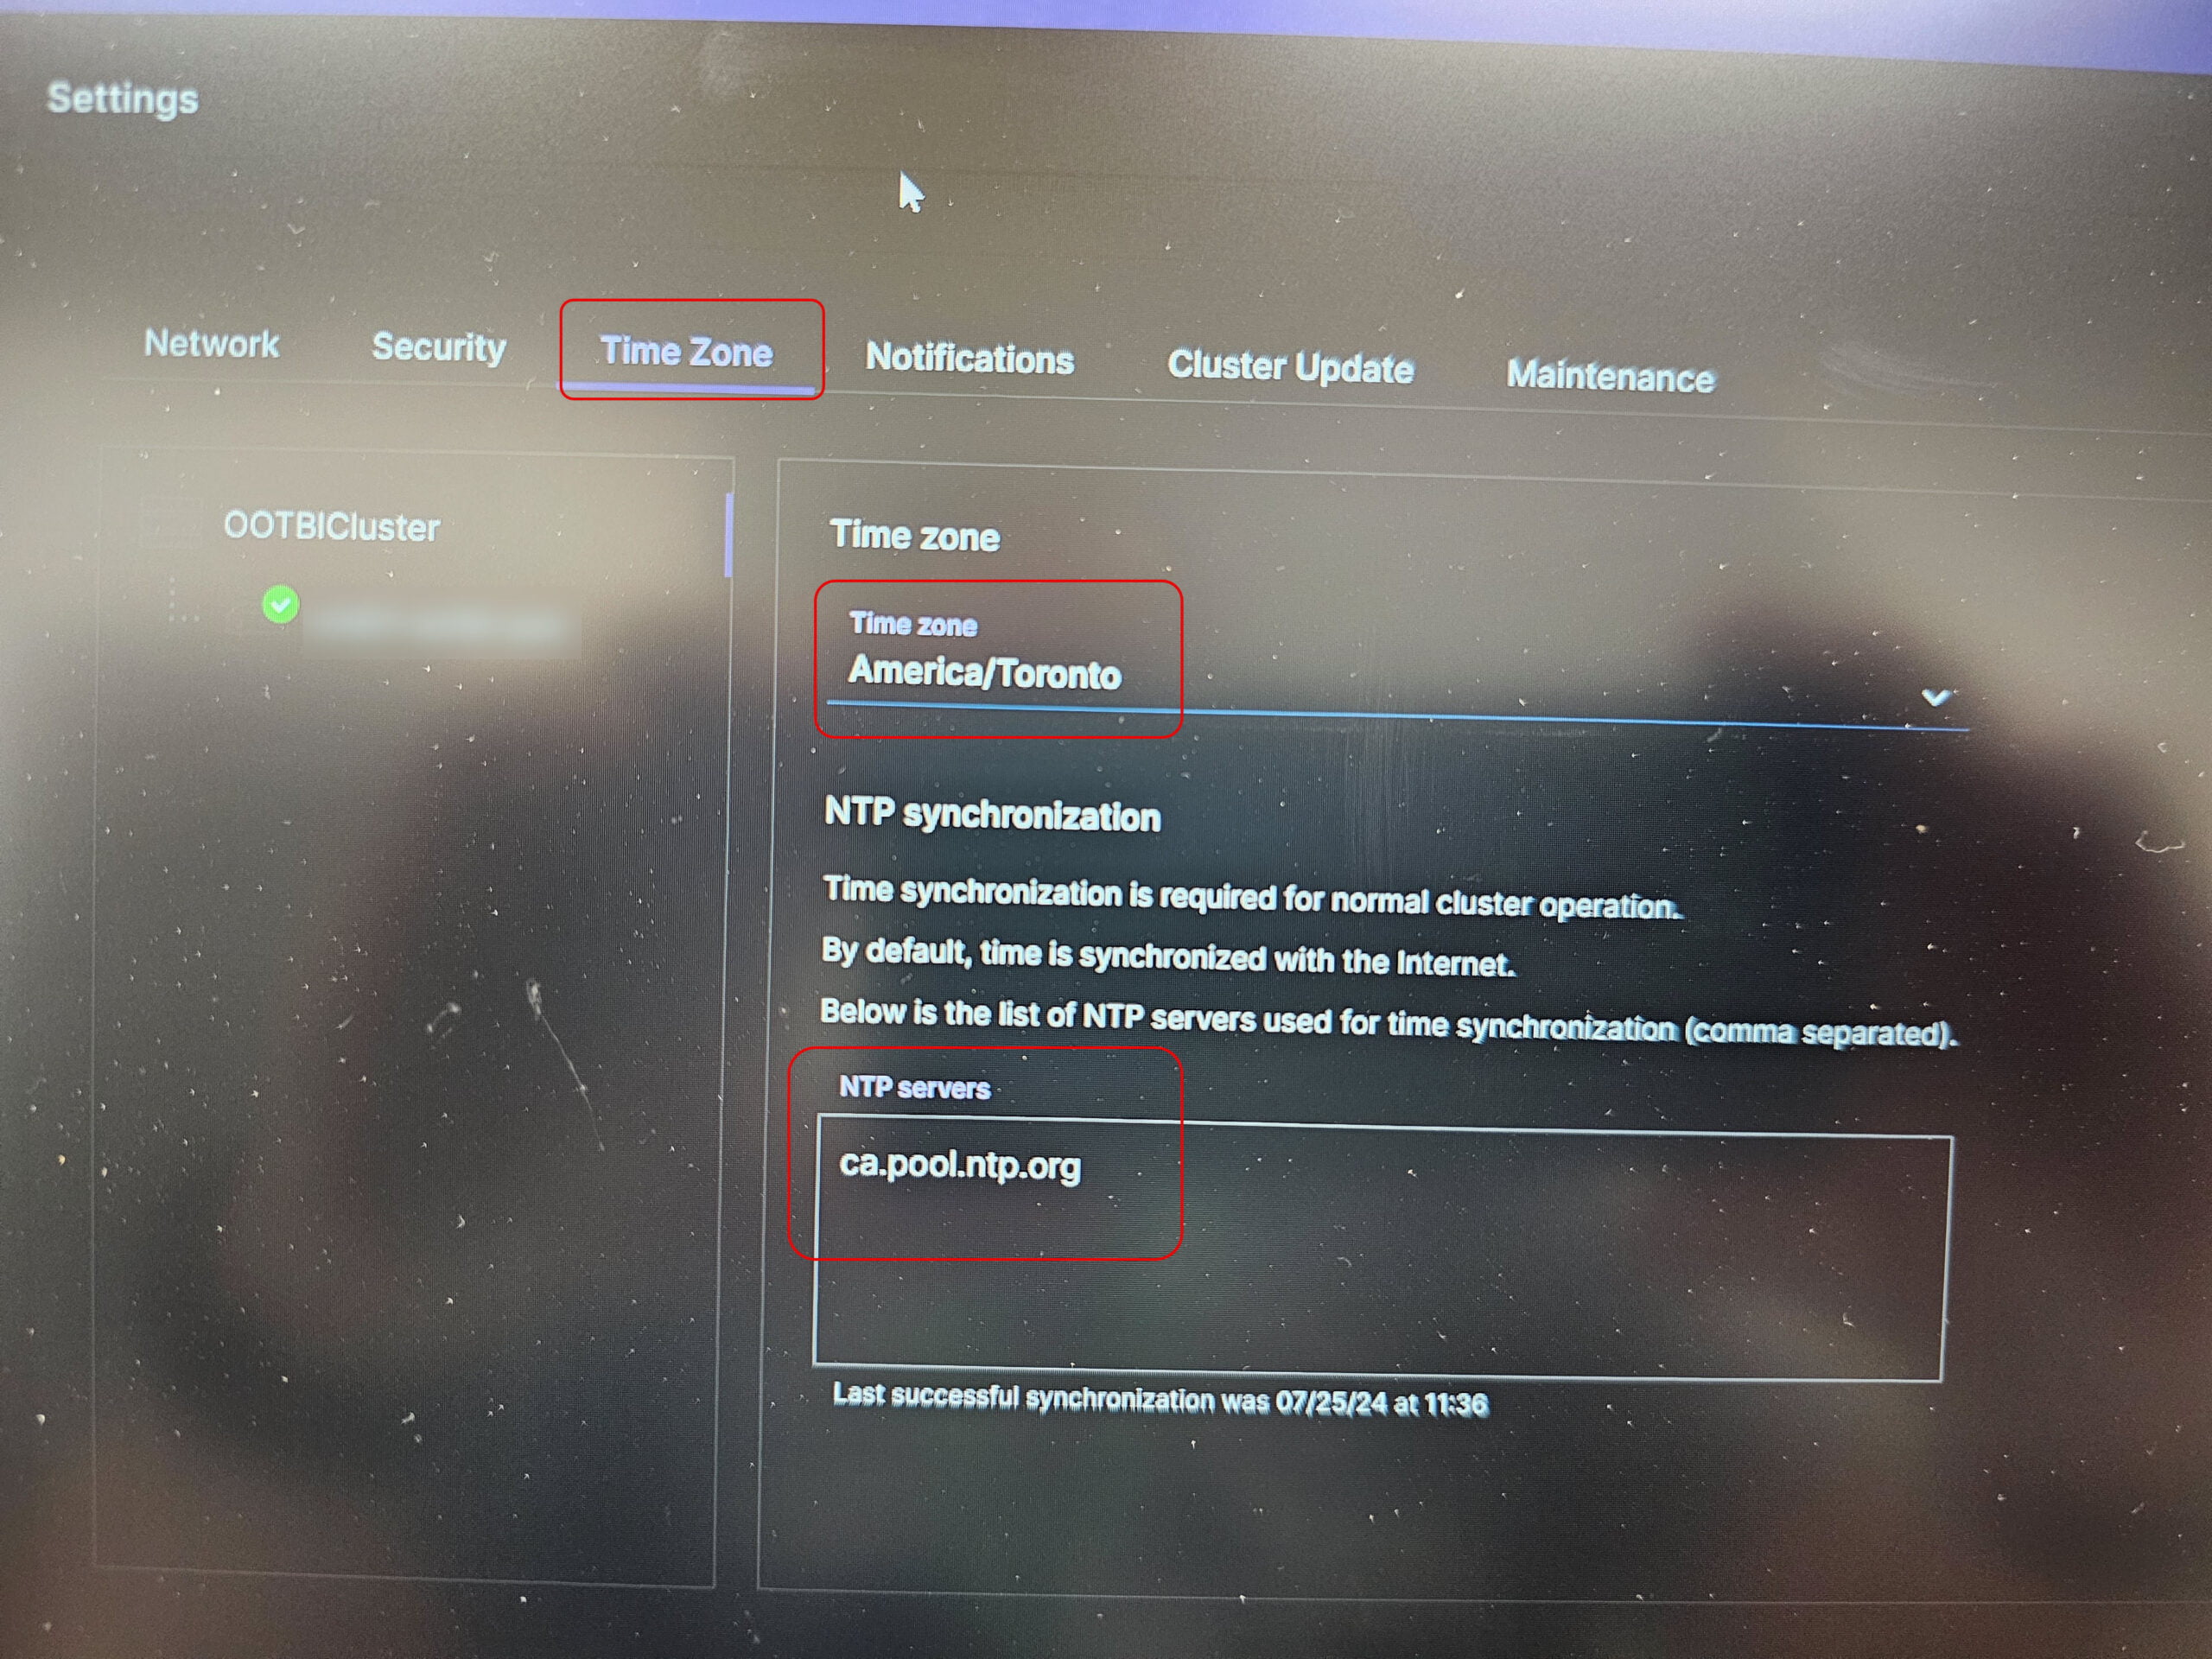
- Notifications & Time Server settings (NTP)
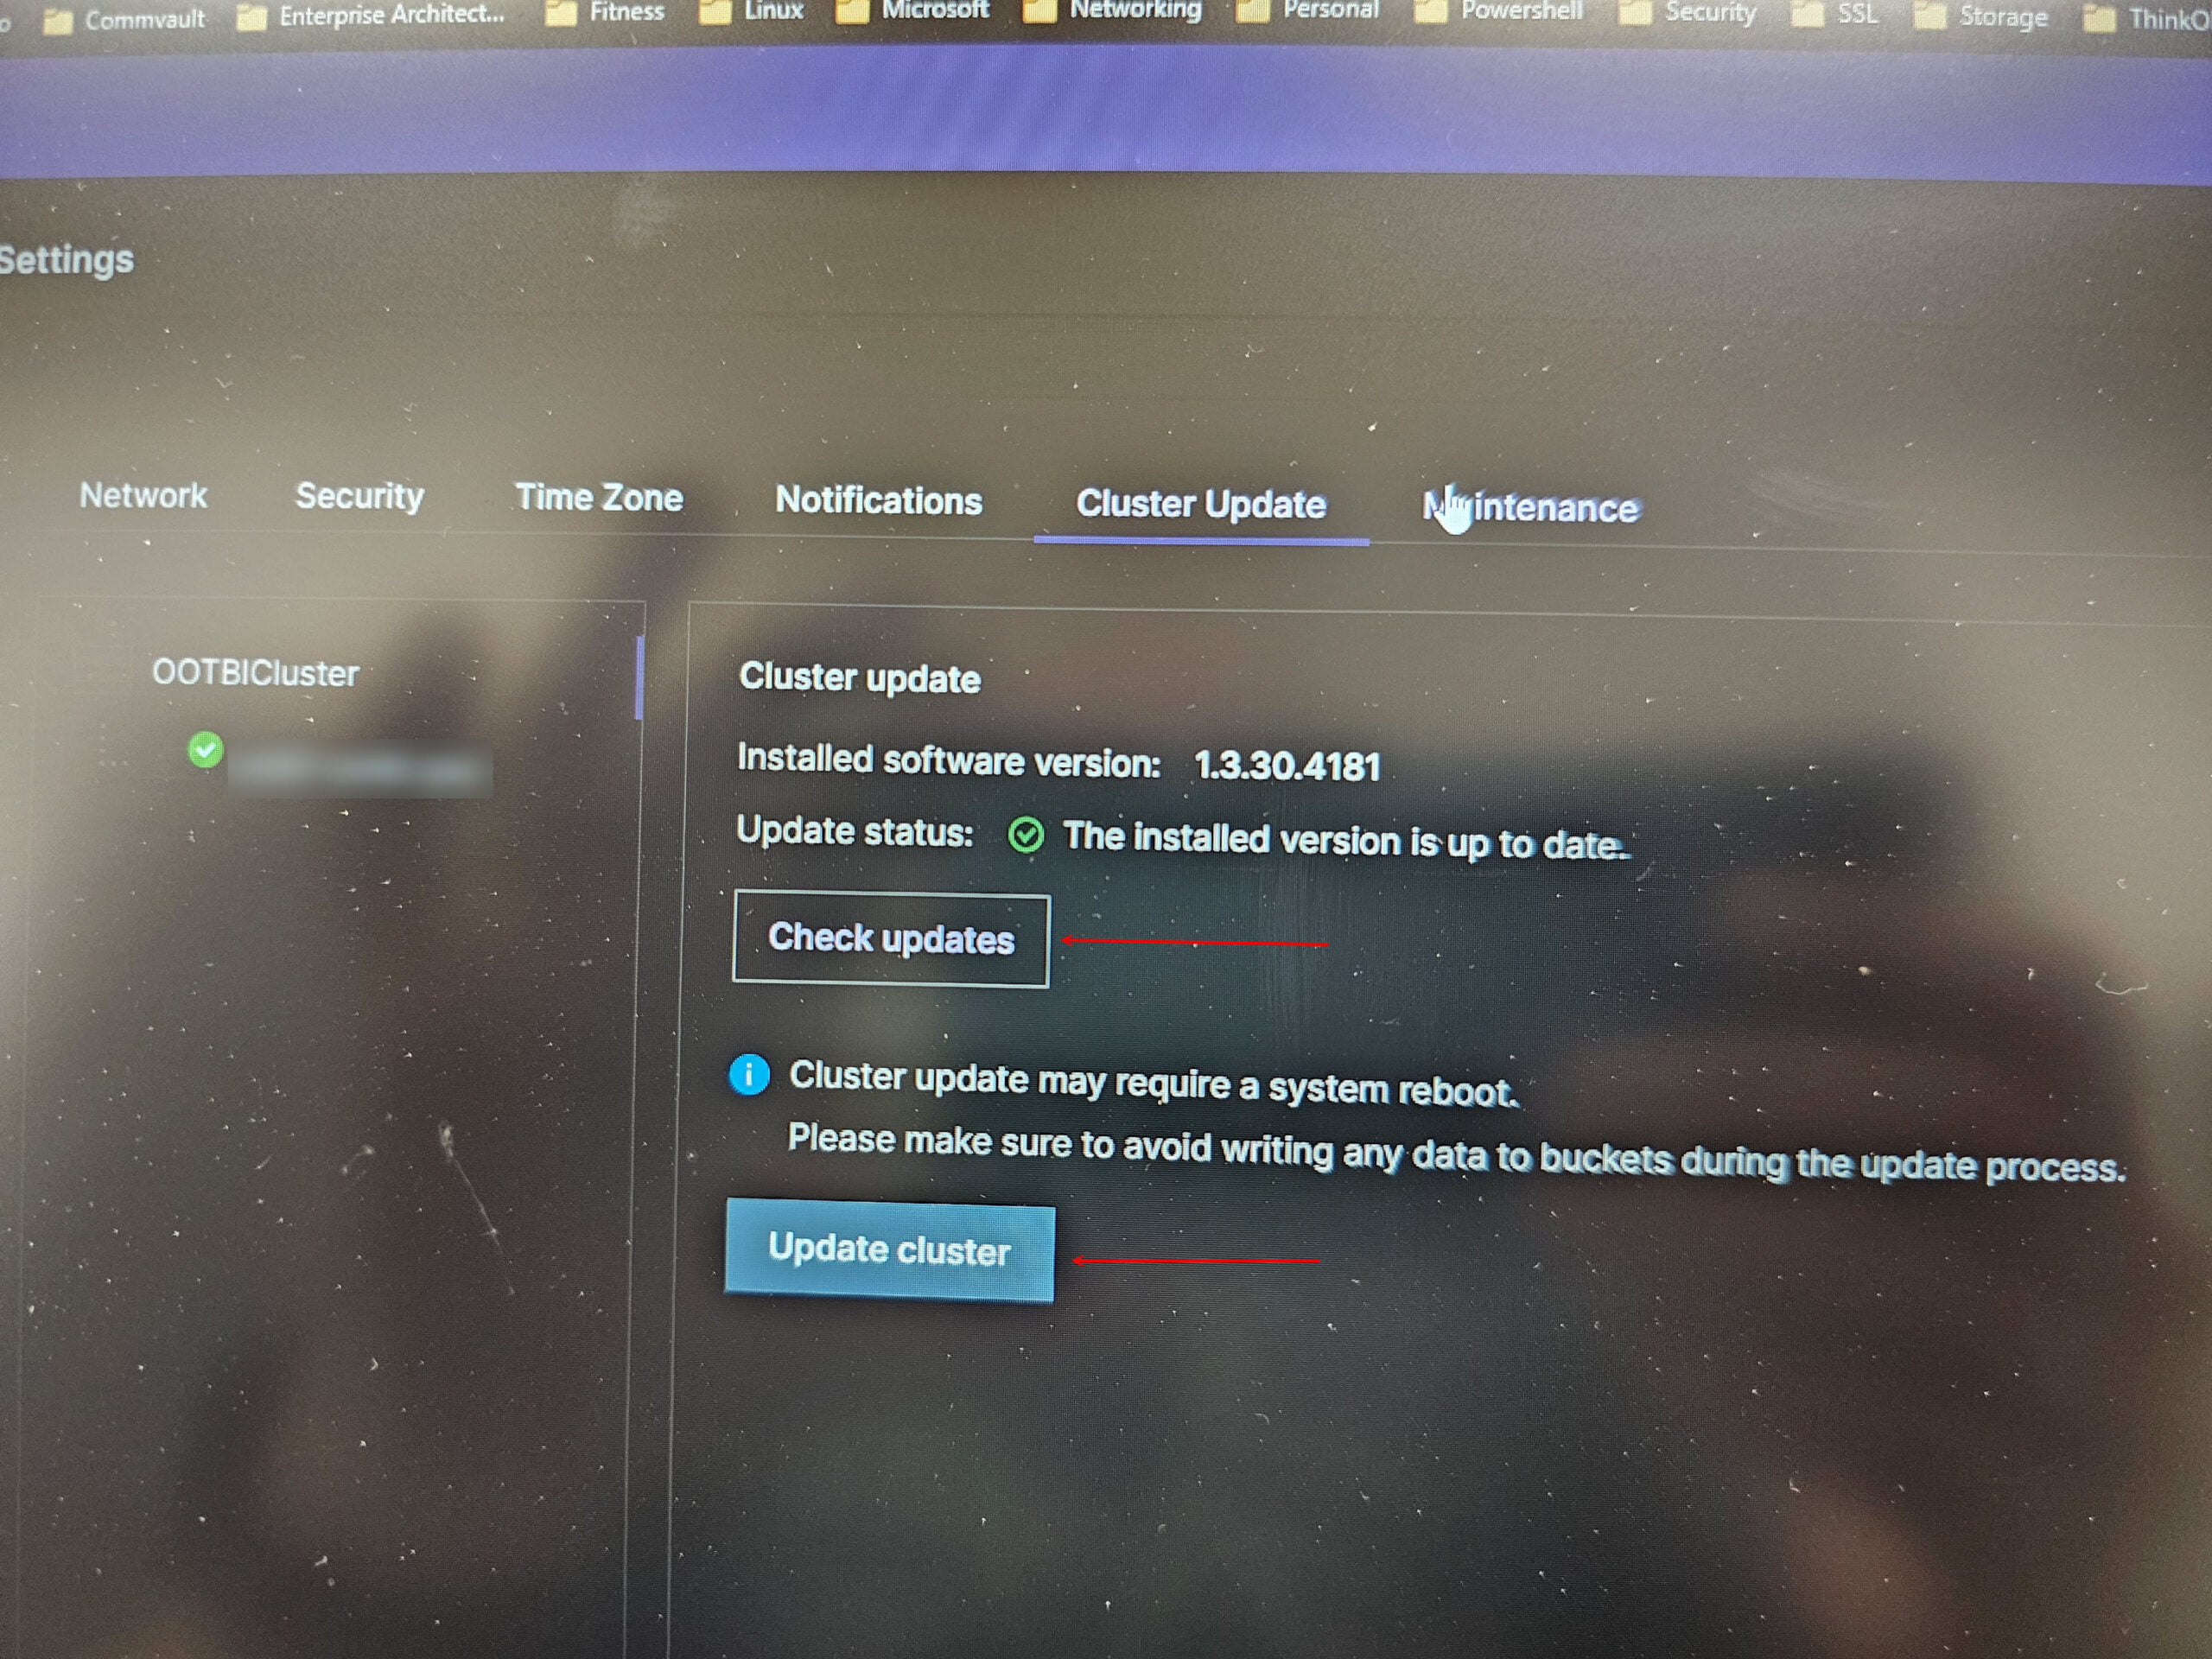
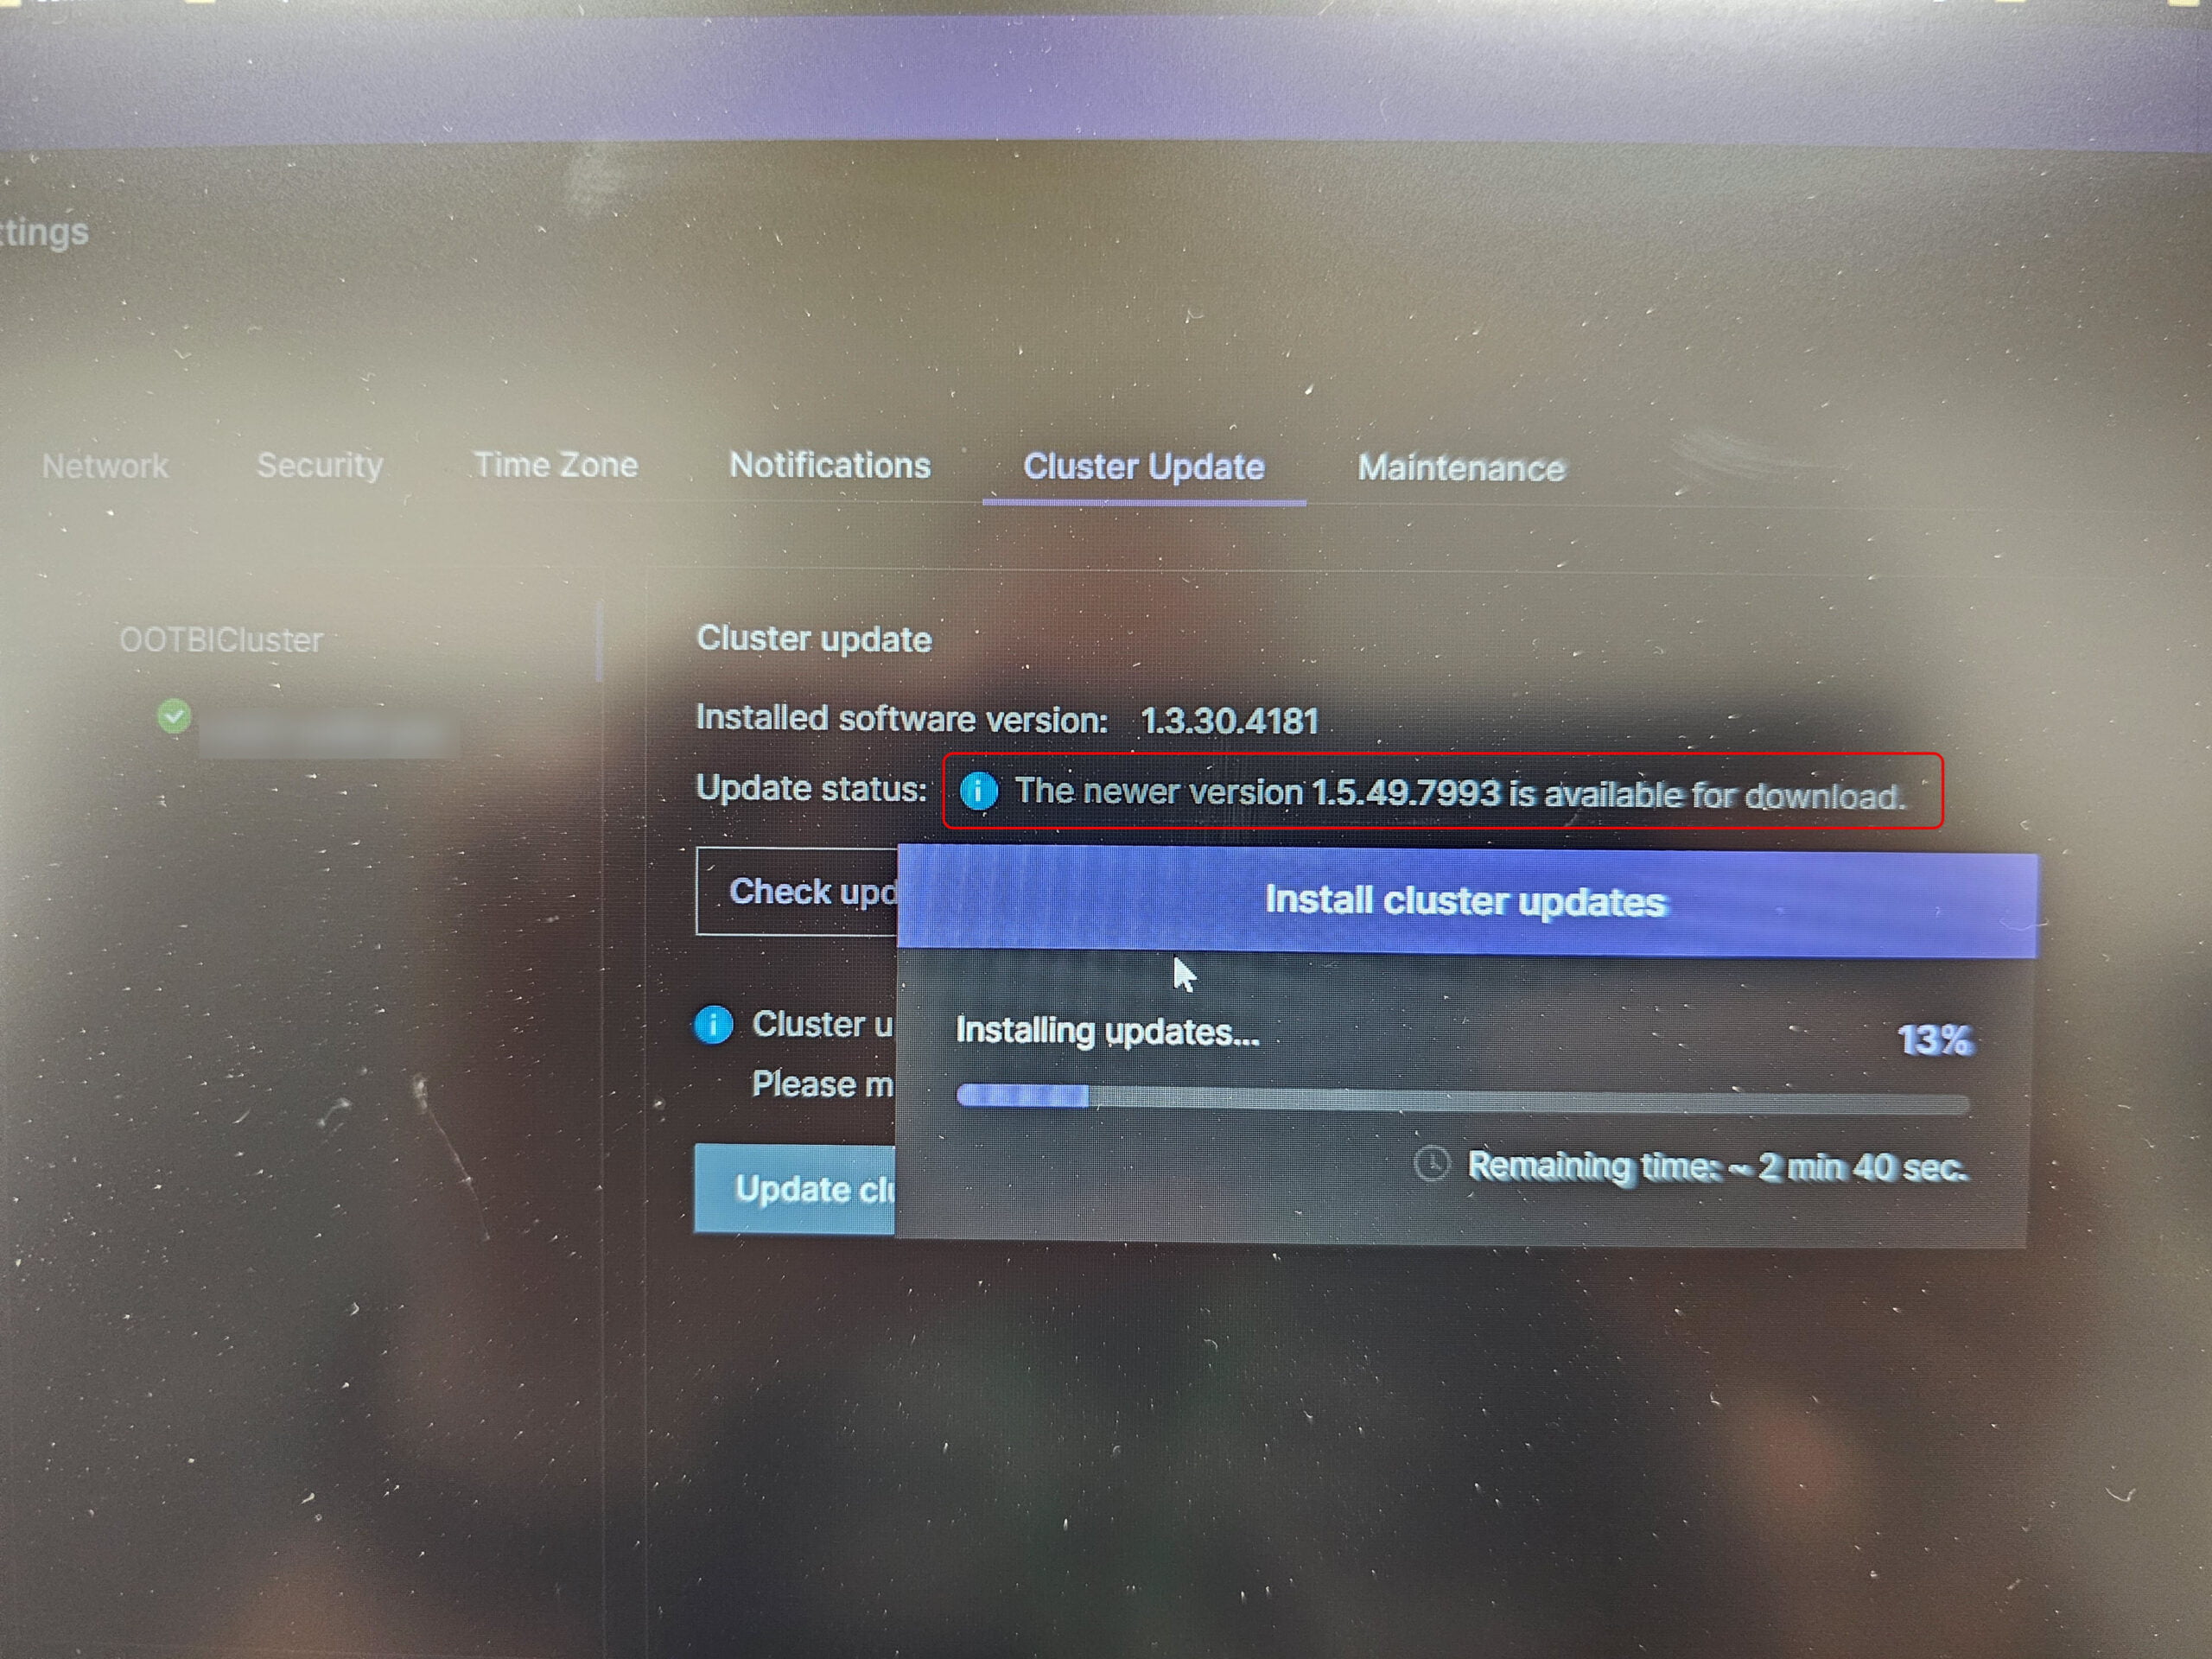
- OOTBI - Software Updates - Check & Update
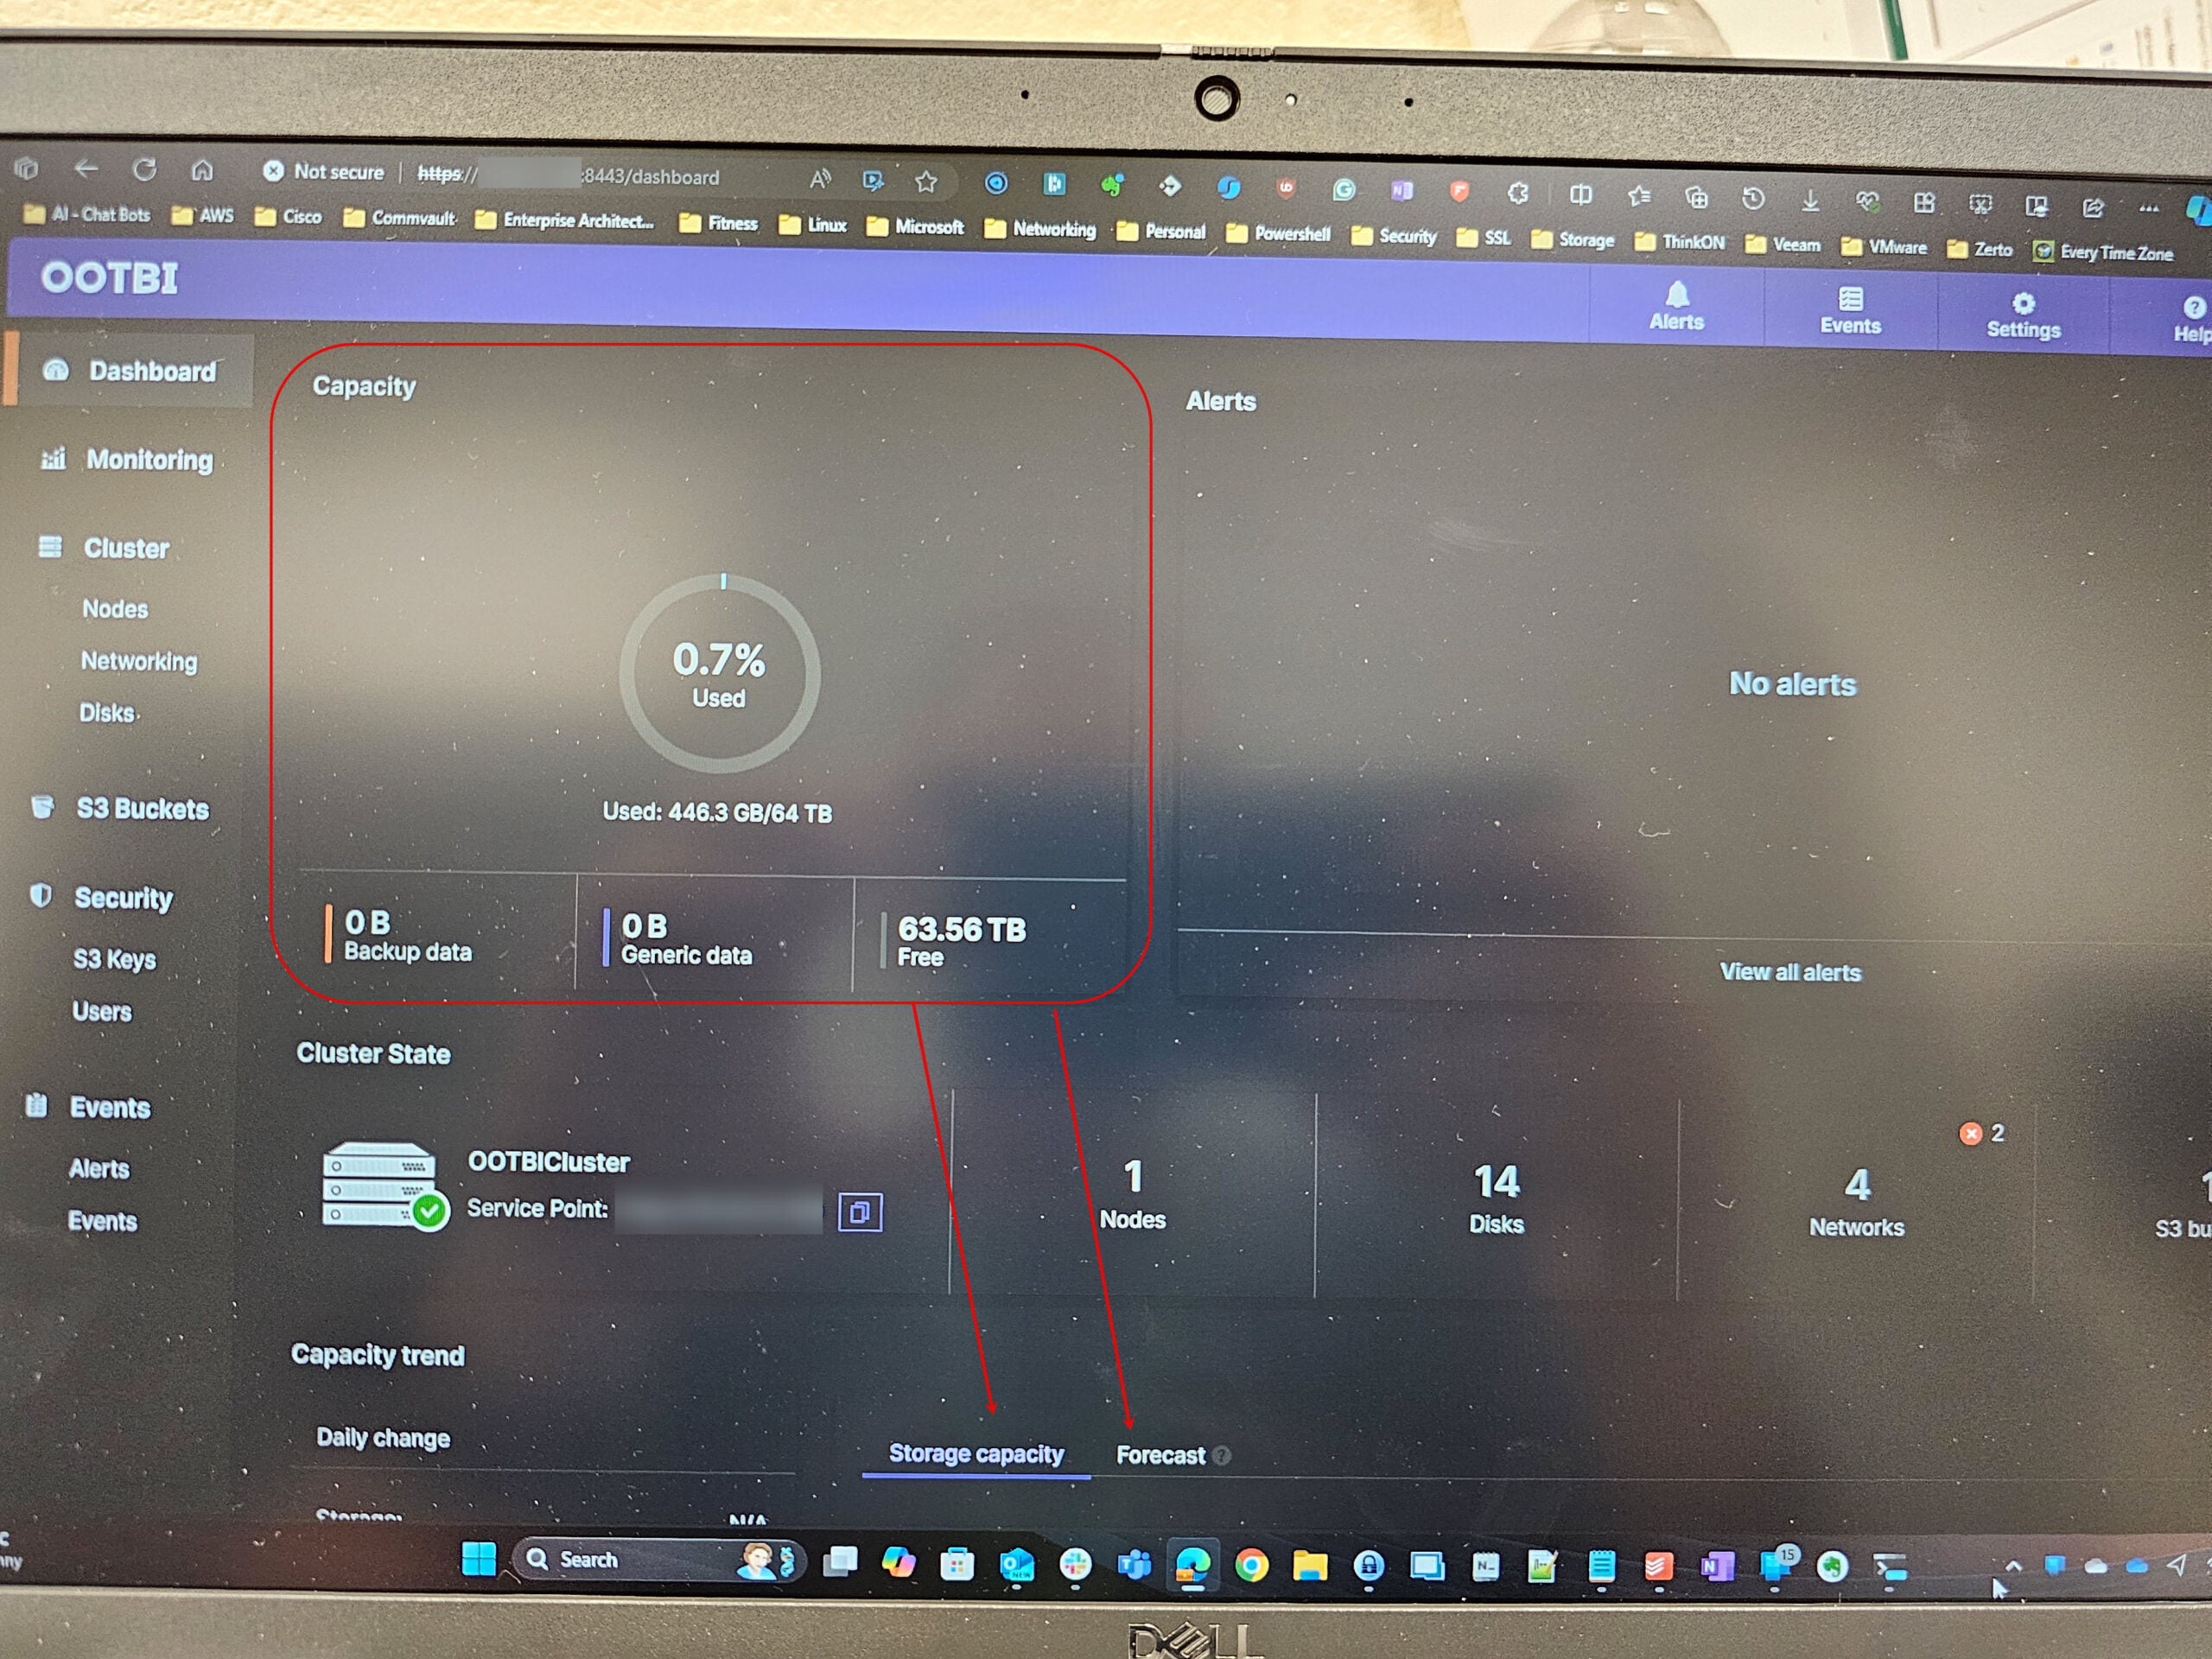
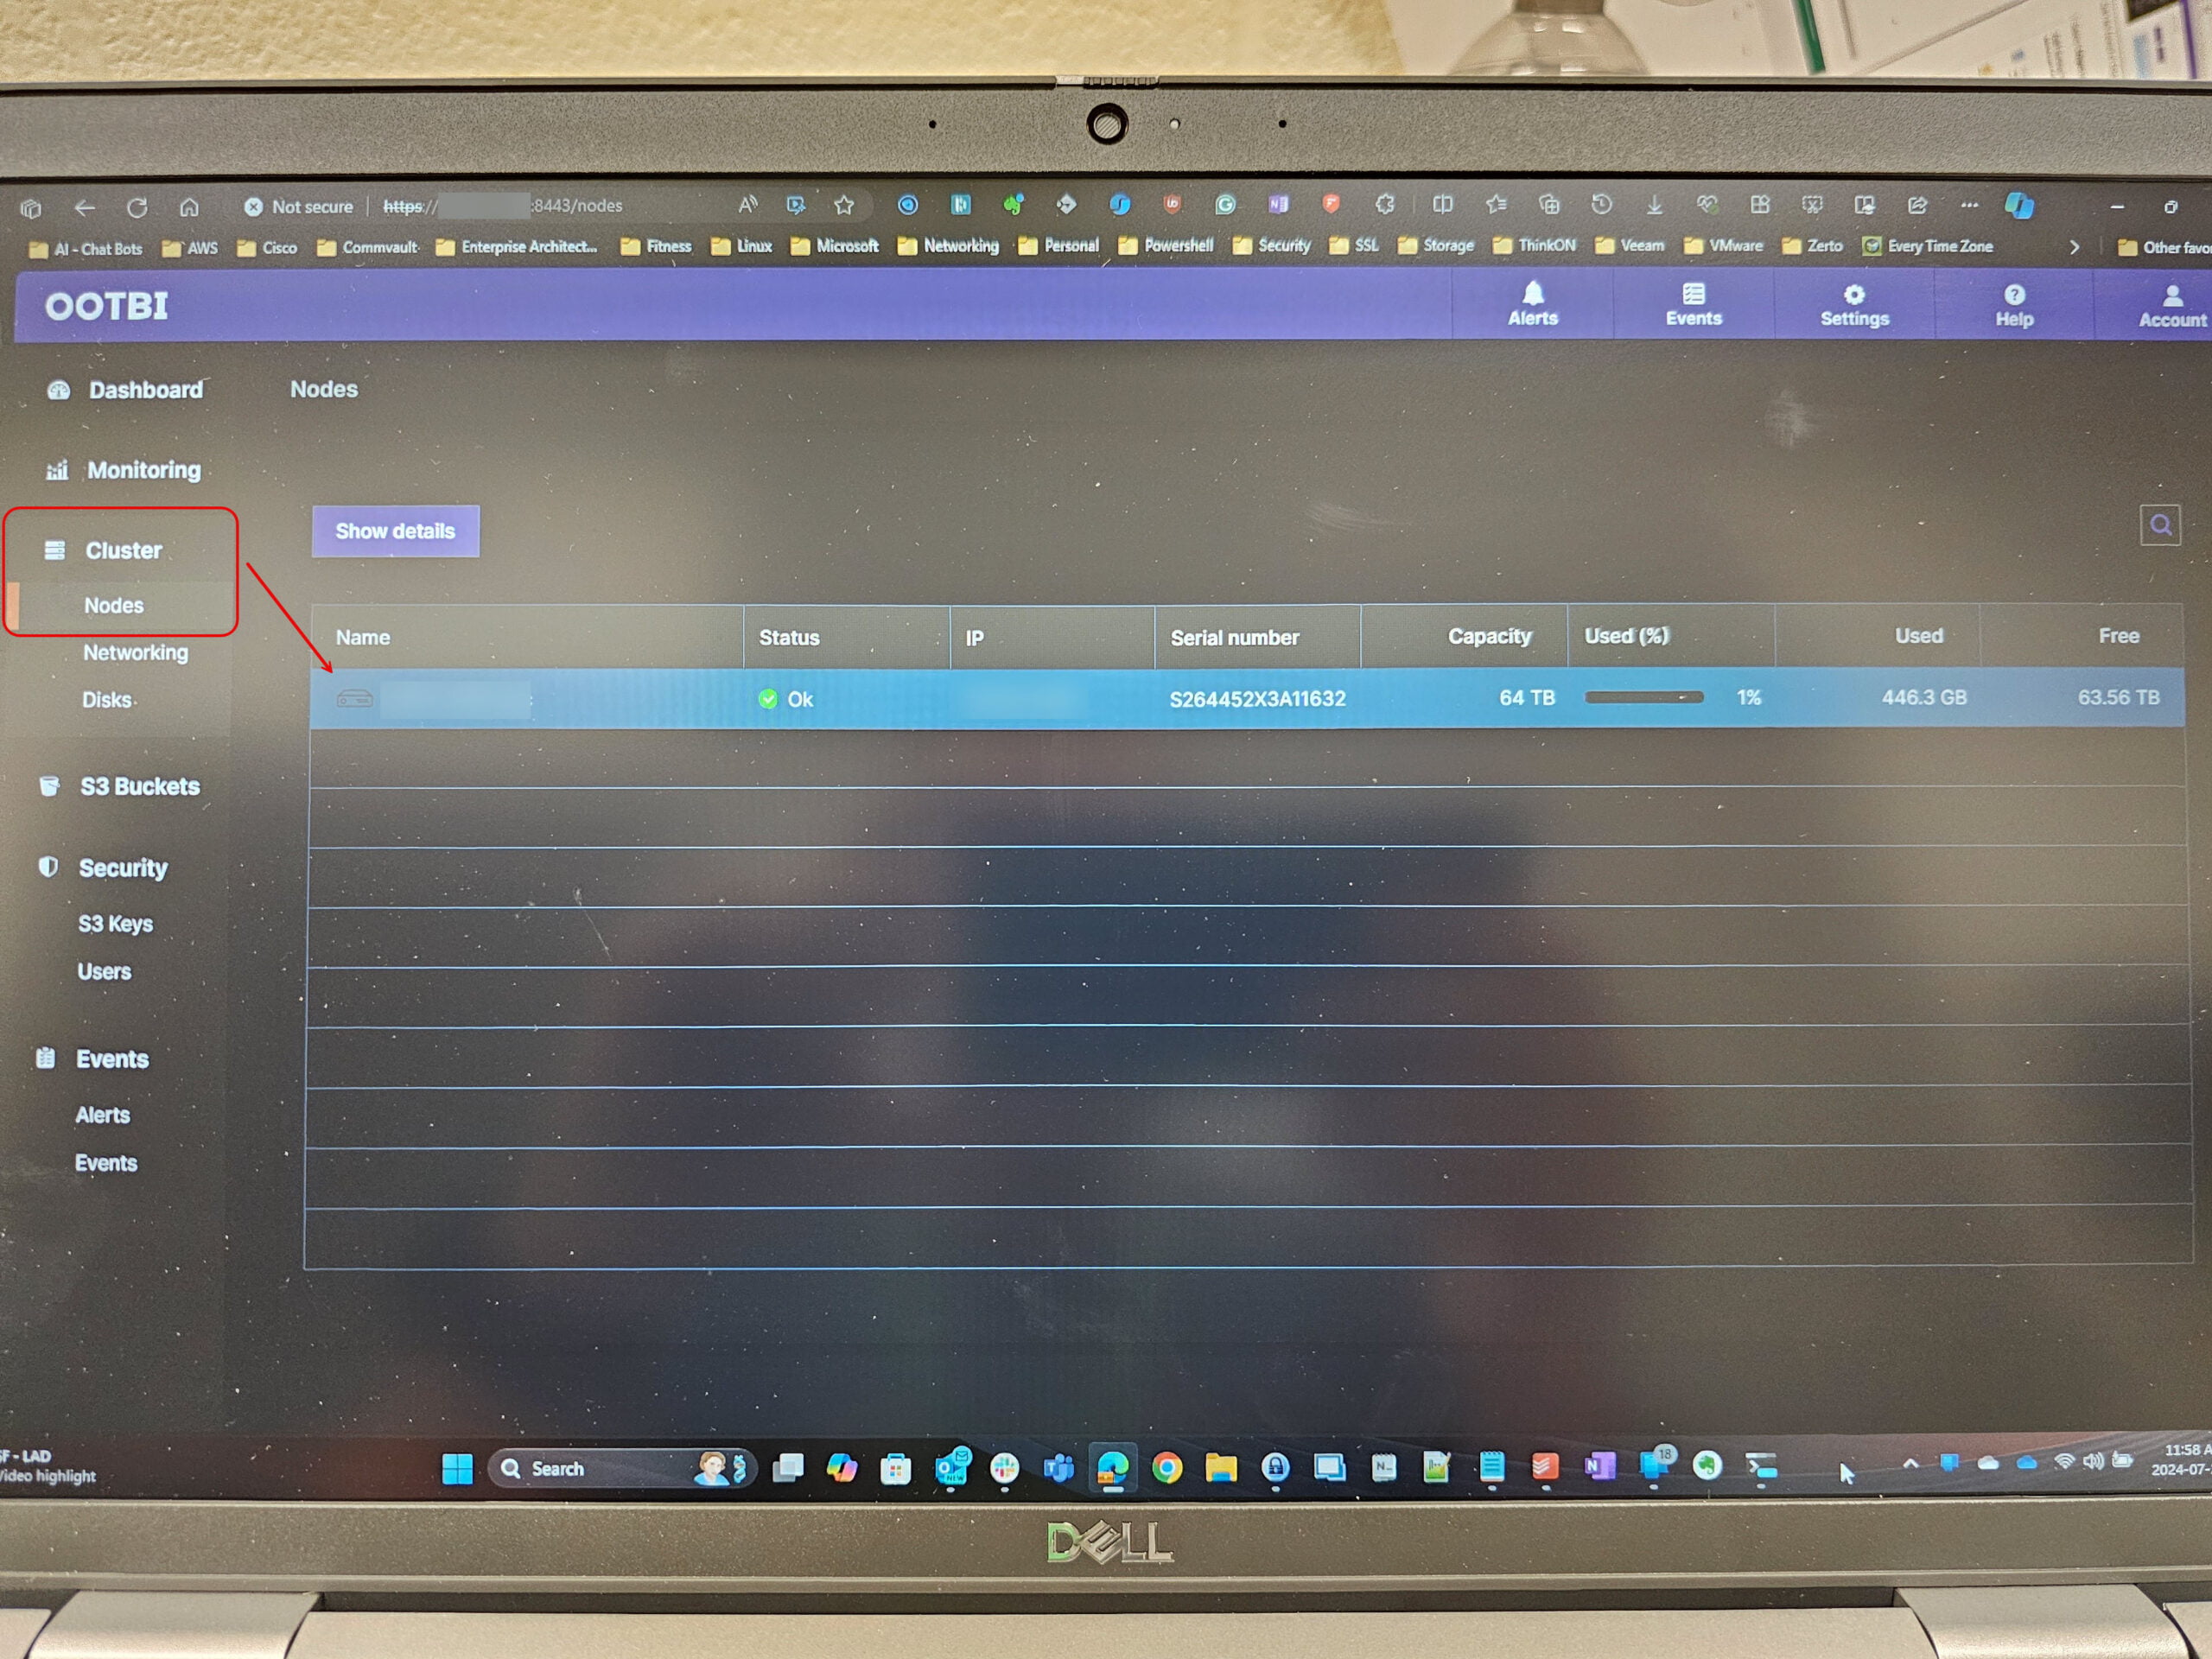
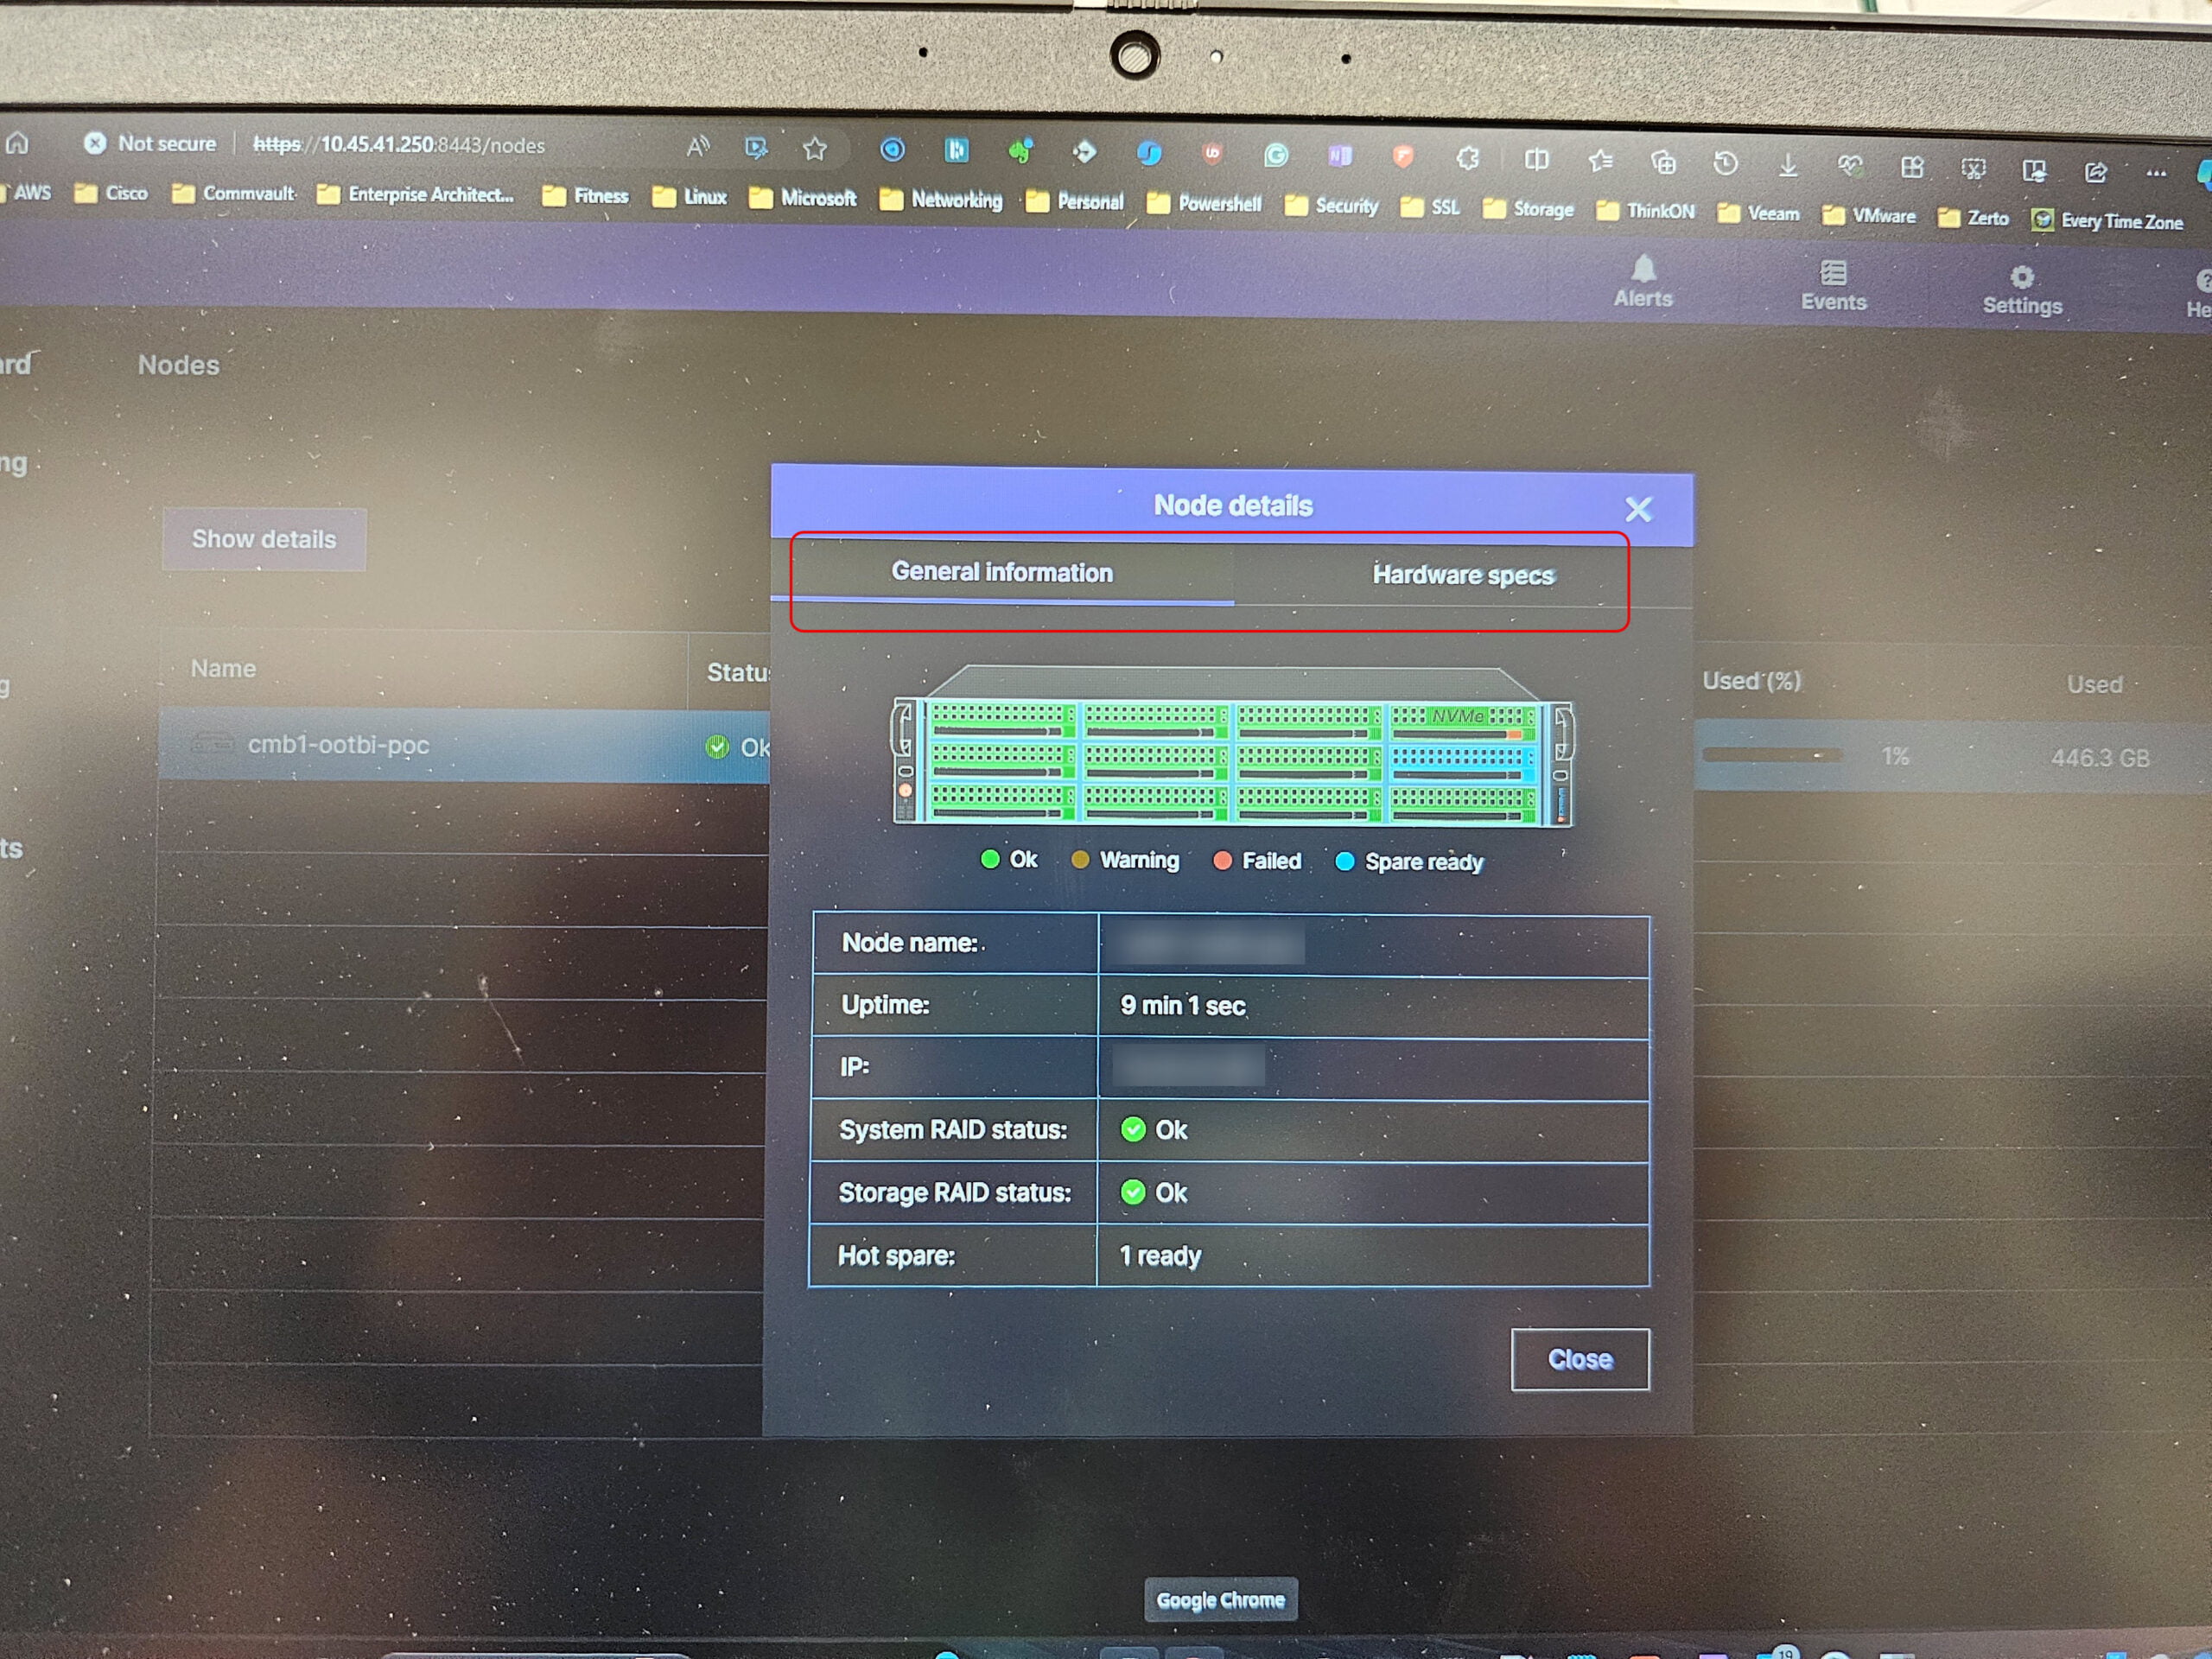
- Web UI - Dashboard & Node Information
So that, in a nutshell, is the setup from within the Web UI using the wizard-driven prompts and walking through some of the other screens that you can configure options for. Hopefully, this was informative.
The following few blogs will be focusing on Veeam, specifically including things like -
- Setup & Integration to the Veeam Console for a Repository - SOSAPI
- Setting up encryption to use with the new repository
- Creating jobs that use the new OOTBI repository
- Performance metrics from the device and where you can view them in the dashboard
I hope you enjoyed this second blog on the Object First OOTBI appliance, and I look forward to the next one. Until then, happy blogging!