Have you ever wondered how to create a storage pool and volume using SSDs on a Synology NAS? Well today I will walk you through the process to use the SSD drives within your Synology NAS to create a storage pool and volume to use within a VMware environment.
Now you must be using one of the supported NAS devices that allow you to use SSD as a Storage Pool as many just allow SSD drives to be used as Cache within a Storage Pool - Supported NAS Devices. You must be using a device on the supported list otherwise the only option you will have is to create an SSD Cache. I will discuss SSD Cache vs Storage Pools in my next article.
In order to configure an SSD storage pool you need to use the Storage Manager application on the web UI. Launch the web UI and log in, from the main screen open Storage Manager and use the Create button to begin the process to create a new LUN.
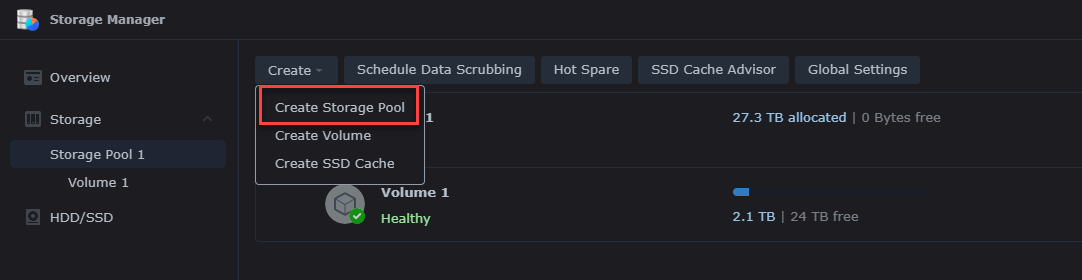
Here is the new Storage Pool Creation Wizard that opens after clicking the option above -

After clicking Next you are presented with Configuration screen on which RAID type to use and the option for a Description.
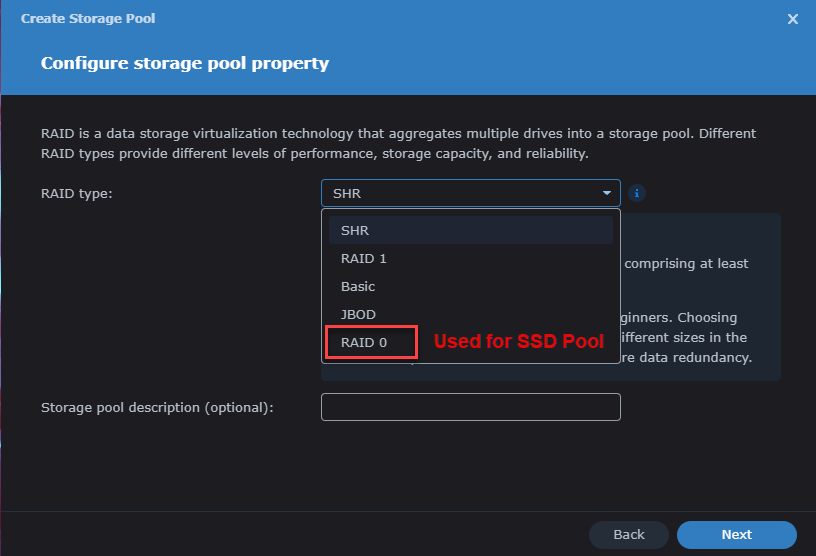
**NOTE: I am using RAID0 as I wanted to maximize the 400GB SSD drives I have in my DS923+. You typically would have larger supported drives and do a RAID1 for protection.**
After selecting the RAID you want to use and optinally typing a Description, you click Next to proceed. You will select the following things -
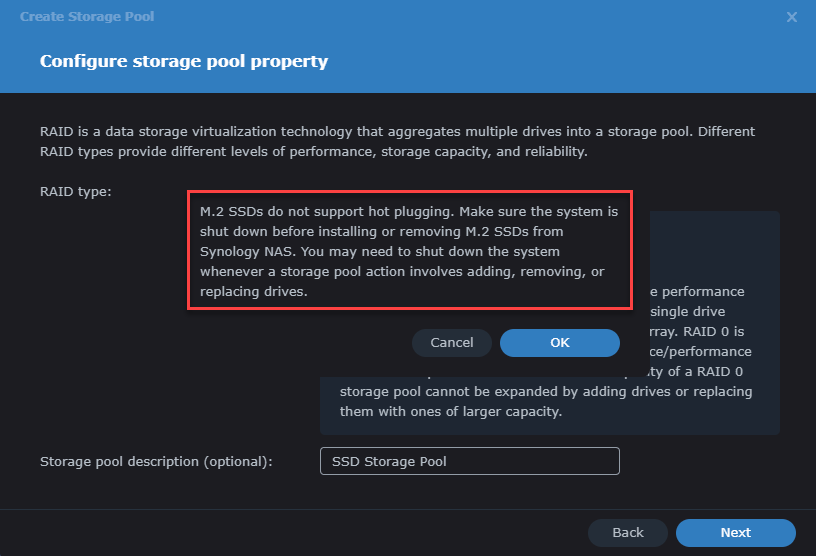
- Warning - a warning about SSD drives not being hot pluggable and ensureing a backup power supply
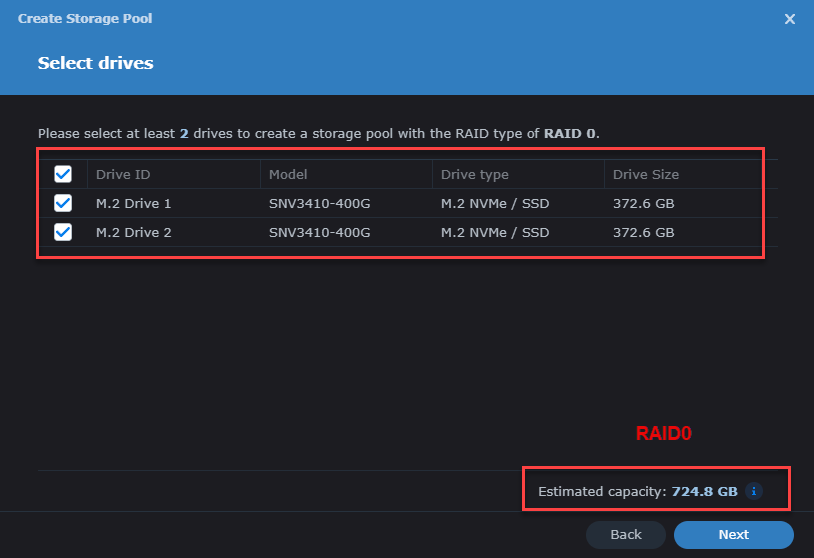
- Disk Selection - selecting the SSD drives to use in the Storage Pool
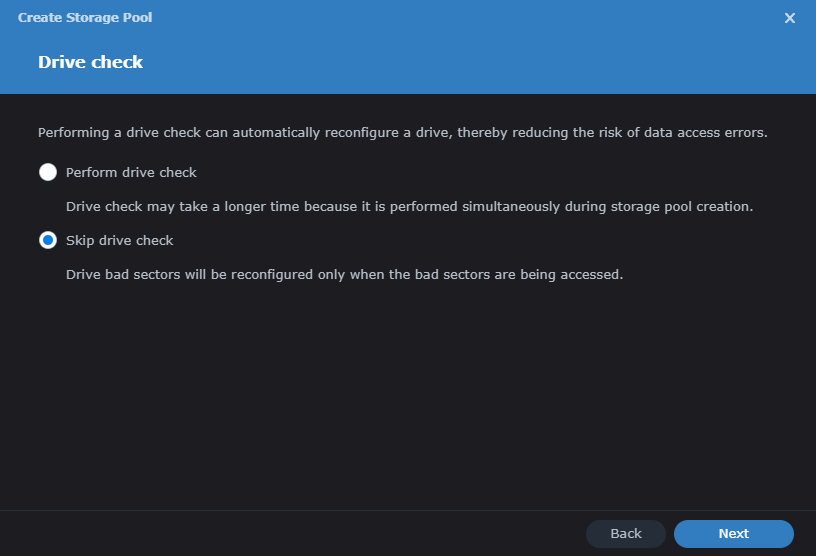
- Drive Check - whether to enable drive checking while it creates the Storage Pool - I selected not to check since the NAS is still fairly new
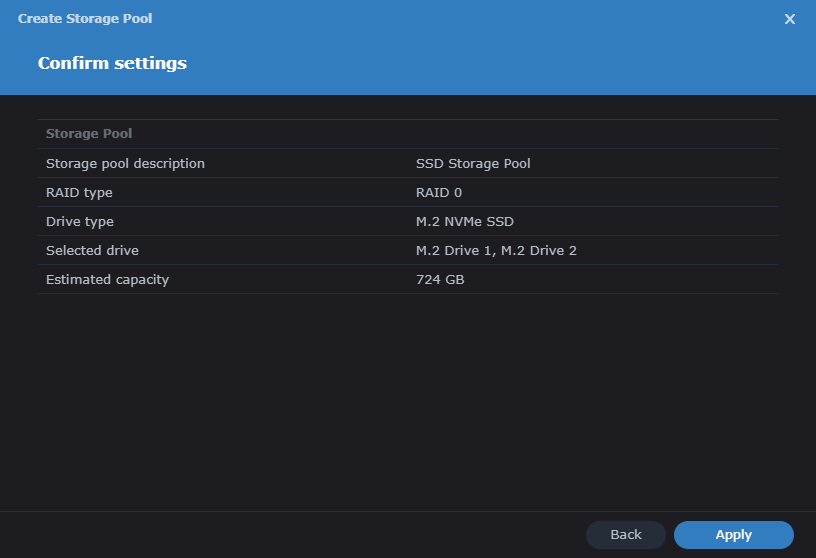
After you have accepted the warning, selected the SSD drives to use and chosen to check the drives or not, you click Next to proceed to the validation screen. Here you will ensure all the settings are correct and click the Apply button to create the Storage Pool. You also receive a warning about the drives being erased.
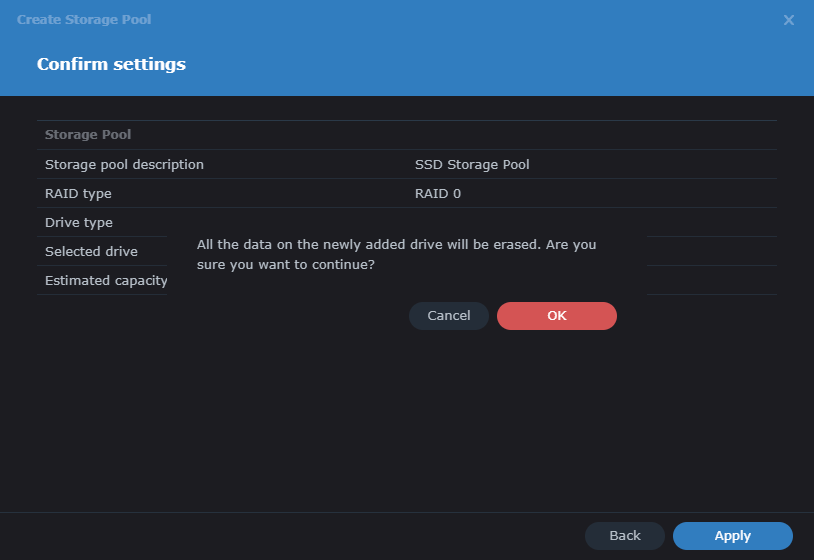
You click OK to the warning and the Storage Pool is now created. After creating a Storage Pool, before you can use this to create a LUN to present to VMware, you first must create a Storage Volume in the new Storage Pool. You click the Create button and select Storage Volume, which will present the following dialog. Here you select the new Storage Pool for your volume.
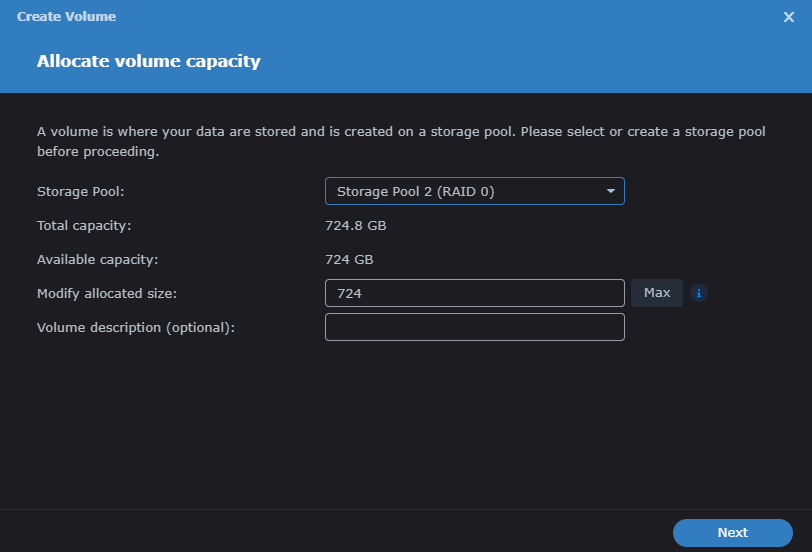
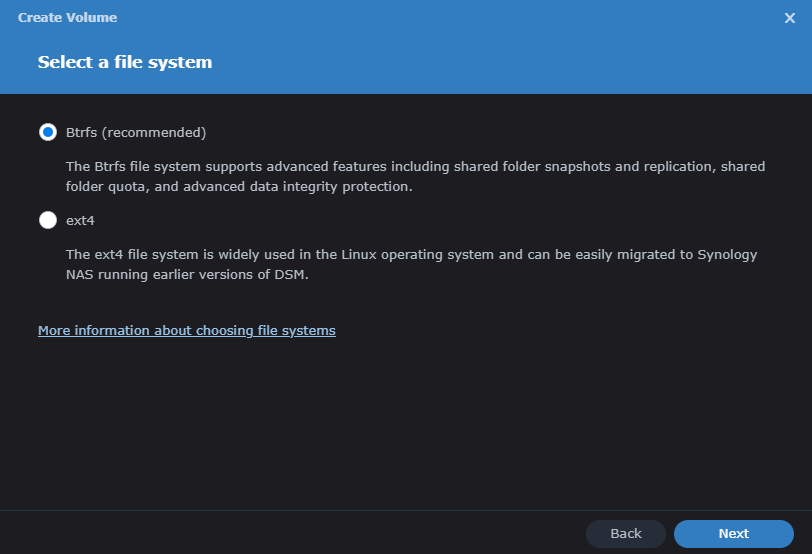
So once you click the Next button you now choose the file system of your volume -
- BTRFS (Recommended) - this is the default file system for Synology NAS volumes
- EXT4 - this is commonly used for Linux operating systems
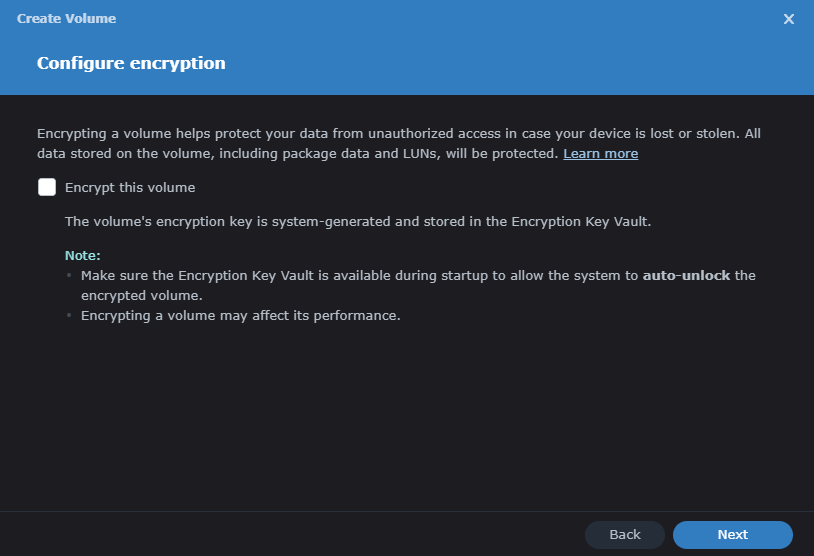
After you choose the file system and in my case Btrfs, you click Next to proceed. You are now presented with the option to configure Encryption on your new volume. You make the choice and click Next.
The last screen is the confirmation so you click Apply to create your new volume in the Storage Pool.
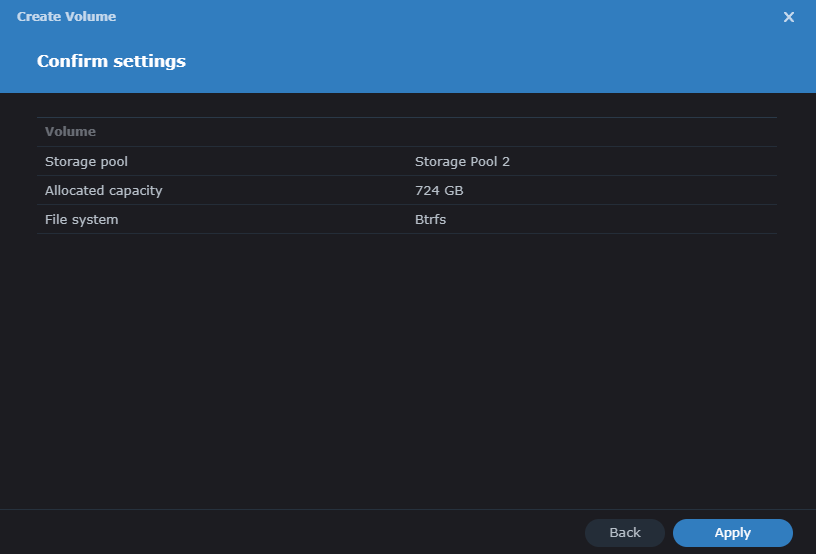
That now completes how to set up both a new Storage Pool and creating a Volume using the SSD drives in your supported Synology NAS system. You would now crate a new LUN or NFS to present to your VMware Cluster for use and get some faster performance for critical VMs. I used this for some smaller VMs since the space I have available is only 724GB but I used Thin Provisioning as well. So far the VMs perform well and seem faster than when they were on the spinning disks.
I will be creating another blog soon that compares using SSD drives in a Cache Pool versus a Storage Pool so stay tuned for that article.
I hope you found this article useful and look for more on the Synology NAS devices and features in the future. Until then, happy blogging!