Veeam released the 12.1 update back in November 2023, and with it comes upgrades to most components, including Veeam ONE. Today, I will walk through the upgrade process in my homelab to update my current Veeam ONE server from 12.0 to 12.1. Many enhancements came with Veeam ONE 12.1, including some of the following -
- Veeam Threat Center
- Unified Analytics-Driven Approach to Data Management
- Integrated Dashboards
- Alarm Lifecycle
- ServiceNow Incident Management Integration
- Syslog SIEM Integration
- Elevating Veeam Data Platform Security
- Backup Security and Compliance: Instant Insights for Robust Data Protection
- Malware Detection: Pinpoint, Protect, Prevail
A full list of the enhancements in Veeam ONE 12.1 can be found here - Veeam ONE 12.1 - What’s New.
***NOTE - You must download the Veeam ONE 12.1 ISO file to follow the steps.***
The following steps are required to upgrade Veeam ONE to 12.1 -
- Mount the ISO file on your Veeam ONE server and run the SETUP.EXE file
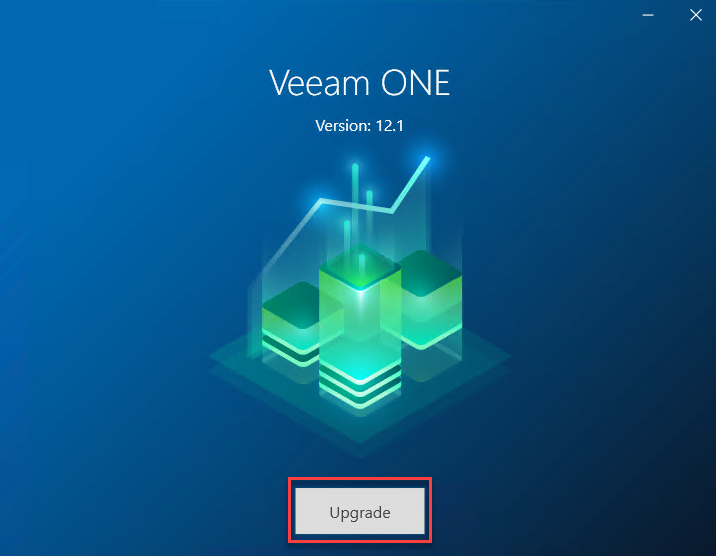
- Upon launch of the installation wizard on the first screen, you will click the Upgrade button to begin.
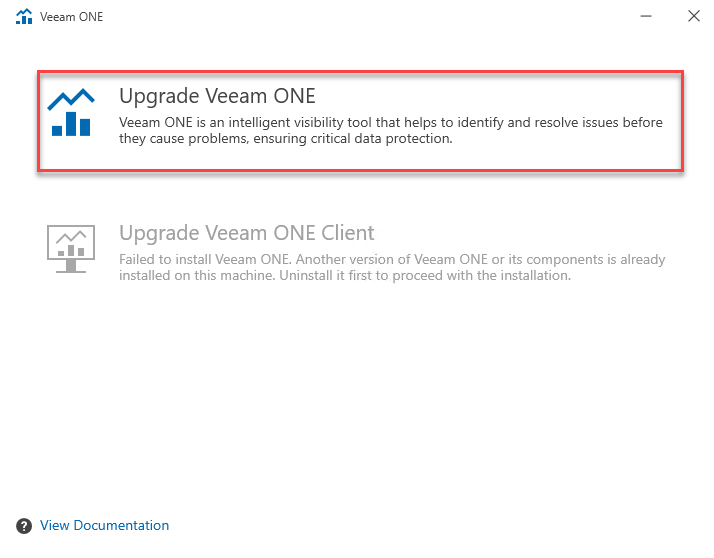
- After clicking the Upgrade button, you will select the option for your upgrade, which could be -
- Upgrade Veeam ONE
- Upgrade Veeam ONE Client
- I clicked on Upgrade Veeam ONE since my server is an all-in-one.
- The upgrade process starts, and the first screen is the License Agreement, where you click “I Accept” to proceed.
- The next screen shows you which components of Veeam ONE are going to be upgraded -
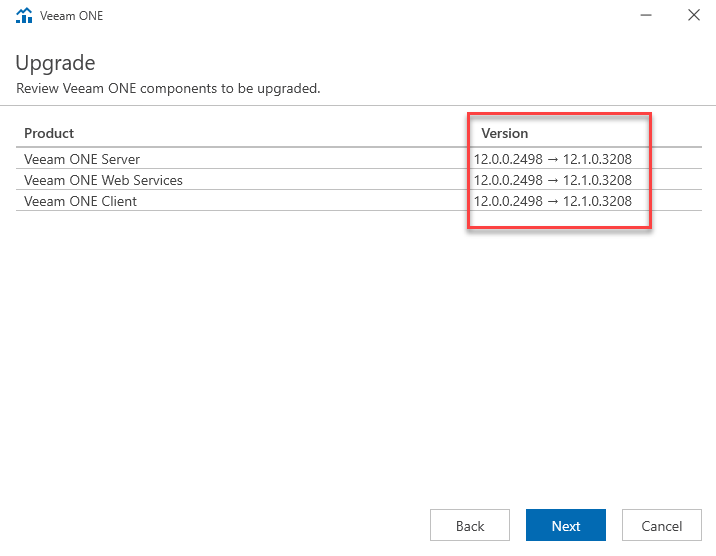
- You will click Next to proceed to the next screen, the License.
- At the License screen, there are two ways to input a license file -
- Logging in to your Veeam account for the license
- Browsing to a license file (LIC) - this will be the option I am using
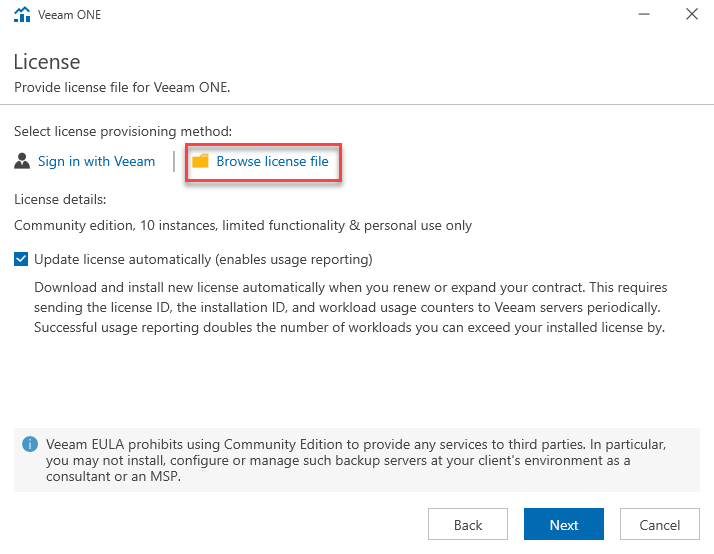
- Click Next to proceed to the Service Account screen.
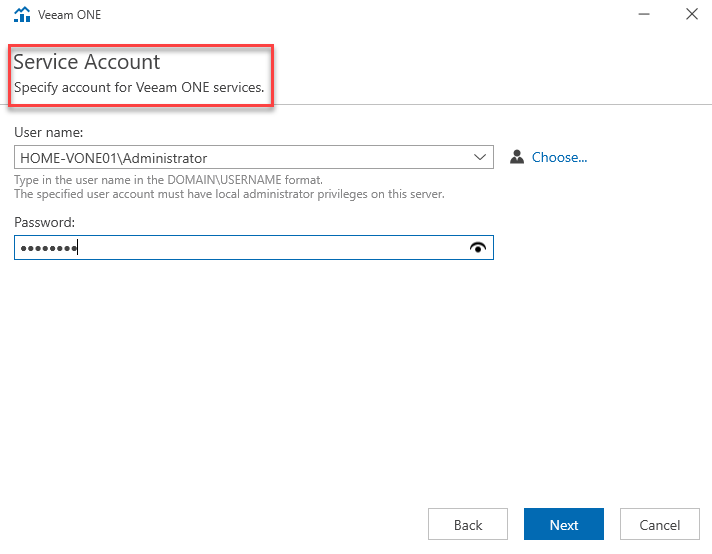
- At the Service Account Screen, you will type in the account to be used for the Veeam ONE services - this should detect the current account being used, so you need to type the password and click Next to proceed.
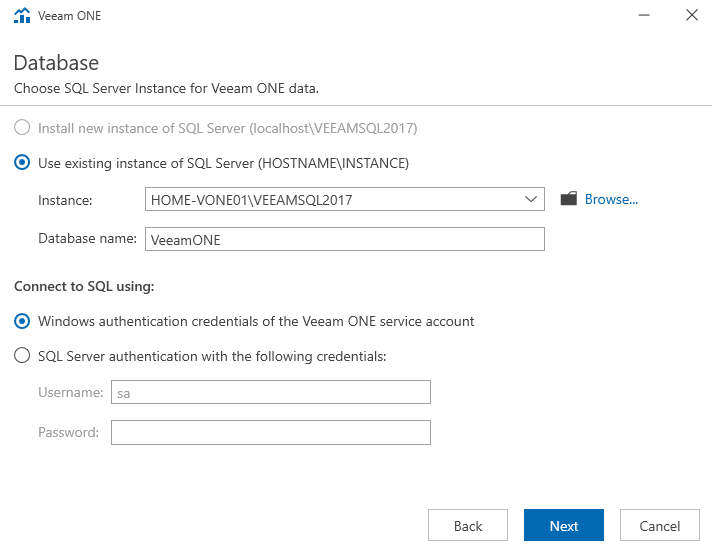
- The next screen is the Database screen, which will detect the currently installed version of SQL and the database. Click Next to keep the current settings.
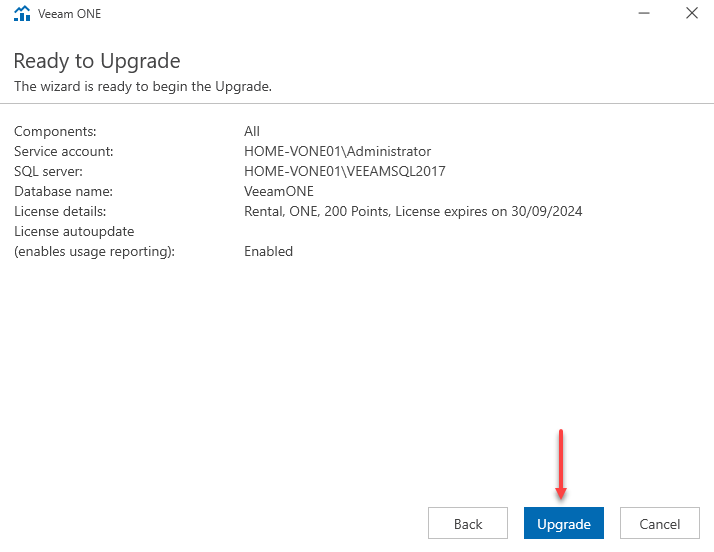
- The final screen is the Ready to Upgrade, where you can validate settings and then click the Upgrade button to begin.
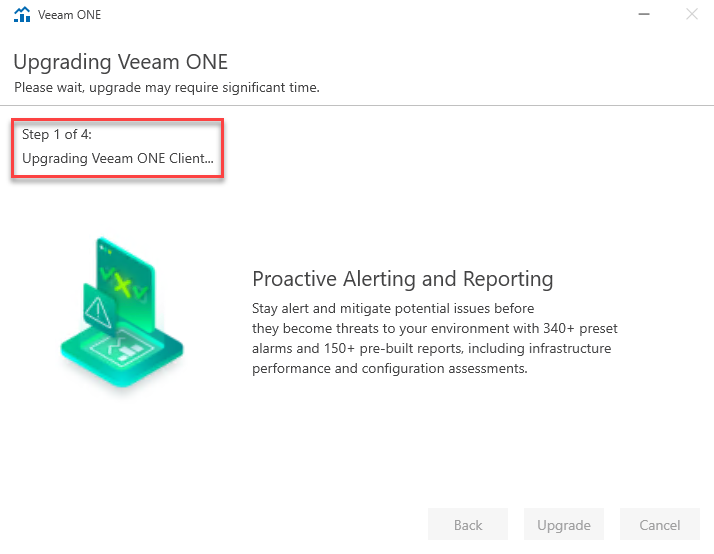
- You will then be able to watch the upgrade progress, showing each step from one to four.
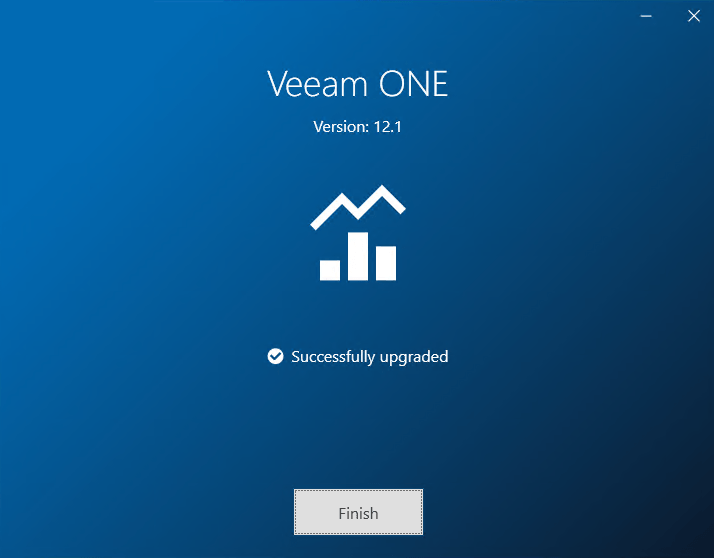
Once the upgrade completes the final dialog is shown where you can complete the upgrade using the Finish button.
You then unmount the ISO file and can begin working on the new Veeam ONE 12.1 software by launching the Veeam ONE Client or Veeam ONE Web Client.
This now completes the upgrade process of Veeam ONE to 12.1 and the steps required. I hope that you found this useful and are able to follow along with your lab or upgrade project for Veeam ONE.
Please click on this link on my blog if you’re interested in anything about Veeam.